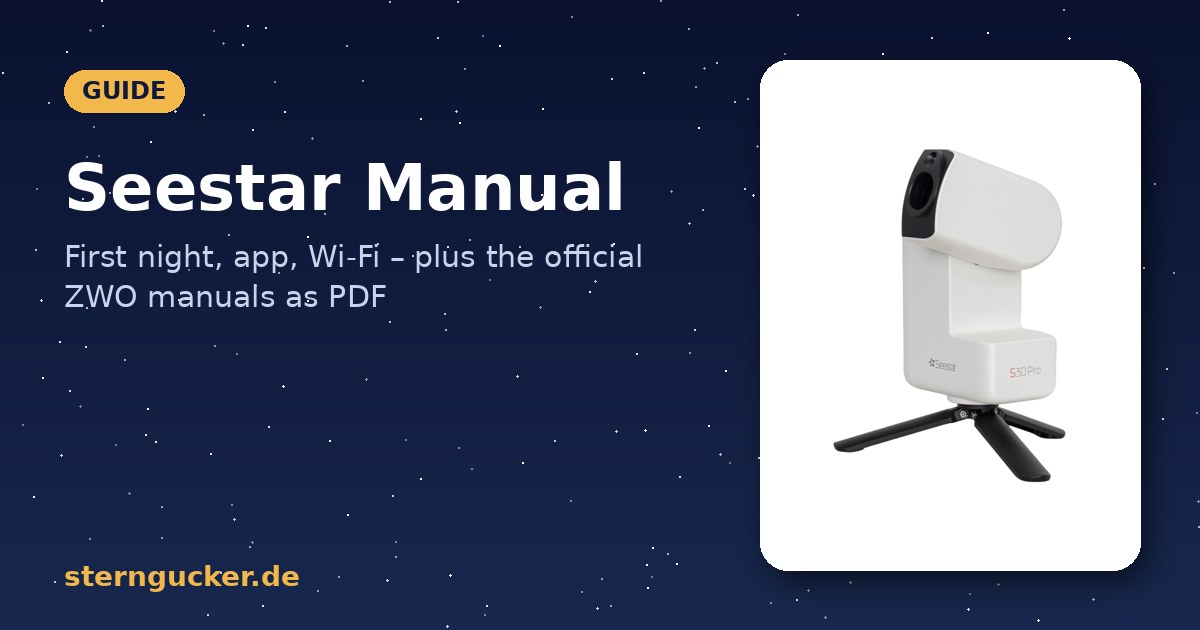
By Alexander Merz · Published on · Details checked on 22 September 2026
⭐ In short: This Seestar manual takes you from unboxing to your first stacked deep-sky image with the Seestar S50 Pro or S30 Pro in a single night. ZWO’s manuals, which the app shows under “Help”, are thorough but don’t tell you the order that works on night one – this guide does, and it covers the spots where beginners tend to get stuck.
The official ZWO manuals as PDFs
ZWO publishes the detailed Seestar user manuals in English only, which is good news if English is your language: you get the full documentation. On top of that there is a quick start guide and a set of safety instructions for each model – both are multilingual PDFs with an English section. The app itself is in English (as of version 3.3.2, released 4 September 2026) and simply follows the language of your phone; it shows the manual under “Help”.
Download from the manufacturer
- Seestar S50 Pro – User manual, 56 pages · Quick start guide – English from page 7
- Seestar S30 Pro – User manual, 34 pages · Quick start guide – English from page 7
- Seestar S50 (previous model) – User manual, 29 pages
- Seestar S30 – User manual, 41 pages · Quick start guide – English from page 2
- Safety instructions, Seestar S50 series – PDF with English section. It also contains the most important rule of all: only point at the Sun with the solar filter attached.
All files are available from ZWO under Guides and Manuals. If the manufacturer changes a link, you’ll find the current version there.
What none of these PDFs tells you is the order that actually works on your first night – that’s what the rest of this page is for.
Before the first night: charging, app, solar filter
- Charging: The Seestar ships partly charged. Charge it fully via USB-C before your first night; depending on the power adapter, that takes two to three hours. A battery icon in the app shows the charge level.
- App: Install the Seestar app by ZWO from the App Store or Play Store. A ZWO account isn’t required for the basic functions, but it’s useful for updates and the community.
- Firmware: The first time you connect, the app almost always offers an update. Do it at home on your Wi-Fi, not outside in the cold.
- Solar filter: The supplied filter only goes on the lens for solar observing – but then always. Slewing to the Sun without the filter destroys the sensor. The app asks about it before starting solar mode, but it can’t see whether the filter is on.
Connecting: device Wi-Fi or home network
The Seestar creates its own Wi-Fi network. On first start-up the app finds the device via Bluetooth and activates it once (your phone needs internet access for this); after that, your phone connects to the device Wi-Fi. For the balcony, station mode is worth it: the Seestar joins your home Wi-Fi, so you stay connected from indoors and can use the internet at the same time. If the connection drops in the garden, moving away from other wireless sources or switching back to the device Wi-Fi usually helps. Bluetooth is only used to find and activate the device.
Setting up: level, stable, clear view
- Put the tripod on firm ground – not on a bouncy wooden balcony if you can avoid it.
- The app shows a spirit level. Adjust the device until it sits in the green zone; this is the most important minute of the evening, because the automatic alignment depends on it.
- A clear view of the target area is enough. The Seestar doesn’t need you to find Polaris or use a compass – it works out its position from the stars by itself.
- Take off the lens cap. All Seestar models have a built-in dew heater; on damp nights you switch it on in the app, though it does drain the battery.
The first night: Moon first, then deep-sky
Start with the Moon if it’s up. In lunar mode you get a sharp image within seconds and learn how focus and tracking work without any waiting. Then switch to deep-sky: in stargazing mode you pick an object from the list or the sky atlas. The Seestar slews there, takes a test shot, corrects its position and starts stacking – it takes individual frames of ten to thirty seconds and adds them up live. After two minutes the Orion Nebula appears, after ten minutes it shows structure, and after thirty minutes the image is as good as it’s going to get from that location.
Good first targets: Orion Nebula (winter), Andromeda Galaxy (autumn), Ring Nebula and Dumbbell Nebula (summer), the Pleiades (winter), M13 (summer). When each of them is best placed is listed in our deep-sky catalogue by season.
The modes at a glance
| Mode | What for | What to watch out for |
|---|---|---|
| Stargazing / deep-sky | Nebulae, galaxies, star clusters with live stacking | The longer, the better; from 20 minutes it really pays off |
| Moon | Sharp lunar images, following the phases | At full Moon, turn the exposure down in the app |
| Sun | Sunspots, eclipses | Only with the solar filter attached, no exceptions |
| Planets | Jupiter, Saturn as small discs | 50 mm of aperture (S30 Pro: 30 mm) shows little; keep expectations low |
| Scenery / wide-angle | Milky Way, nightscapes (S50 Pro, S30 Pro, S30) | Use the second camera, keep the device level |
| Mosaic | Large objects that go beyond the field of view | Takes a long time, needs clear skies for over an hour |
Saving and processing your images
The stacked image is saved as a JPEG in the app gallery and on the device’s internal storage. If you want more, enable saving of the individual frames as FITS in the settings and stack them yourself on a computer later, for example with Siril; that brings out noticeably more detail than the live result. You can get the files via the app (Album, “Seestar” tab, Share, Download) or onto your computer with a USB-C cable.
Common problems and how to fix them
The Seestar can’t find the object.
It’s almost always the level or clouds. Level the device again, then let it realign. If the object is less than 20 degrees above the horizon, better choose one that’s higher up.
The stars are streaks instead of points.
The device is shaking: the tripod is on soft ground, or it’s windy. Move to firm ground, out of the wind, and if in doubt shorten the exposure per frame.
The connection keeps dropping.
Move your phone closer to the device or use station mode on your home Wi-Fi. Turn off your phone’s battery-saving features for the app.
The battery runs out faster than stated.
Cold and the wide-angle camera cost runtime. ZWO quotes up to 9 hours for the S50 Pro and around 6 for the S30 Pro under lab conditions, measured with the dew heater switched off. A USB-C power bank keeps the device running through the night.
The image has a red or green tint.
The dual-band light-pollution filter was switched on. It only lets through the red and green glow of gas nebulae, so it tints the Moon, galaxies and star clusters. In the shooting settings, only turn it on for emission nebulae.
Accessories: only after your first season
You don’t need anything extra to get started. The item owners most often buy later is the TH10 video head: it tilts the Seestar into equatorial position, which eliminates field rotation and lets the automation expose for longer. On faint nebulae, that makes a visible difference.
The head fits the S50 and the S30 Pro. With the S50 Pro you also need the TH10 quick-release plate (€ 24.90); according to ZWO, the combination isn’t secure without it. What else owners buy later – and what you can skip – is covered in our smart telescope overview.
Most popular add-on: ZWO Video Tilt Head TH10
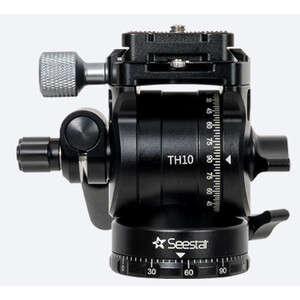
Tilts the Seestar into an equatorial position, which allows longer exposures without field rotation. With the S50 Pro it is only safe together with the TH10 quick release plate, and it needs a latitude of roughly 15 degrees or more.
Price: € 159
Don’t have one yet? The bigger Seestar: ZWO Seestar S50 Pro Smart Telescope
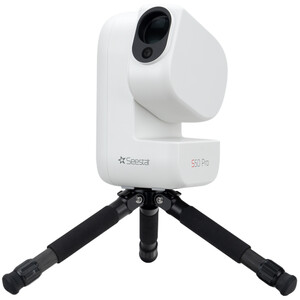
The direct successor to the Seestar S50: a 50/260 apochromatic quadruplet, two cameras and a built-in dual-band filter that pulls nebulae out of a city sky.
Price: € 999
* Affiliate link: if you buy through this link we may earn a small commission from Astroshop or High Point Scientific, at no extra cost to you.
Frequently asked questions about the Seestar manual
Is there a Seestar manual in English?
Yes, in full. ZWO publishes the detailed user manuals exclusively in English. The quick start guides and the safety instructions also have an English section – for the S50 Pro and the S30 Pro it starts on page 7 of the PDF, for the older S30 on page 2. You’ll find the links further up this page.
Is the Seestar app available in English?
Yes. ZWO’s Seestar app is available in English, German, French, Italian and Spanish, among other languages, and follows your phone’s system language. You don’t need to pick a language inside the app.
Can I connect the Seestar to my home Wi-Fi?
Yes, via station mode. You connect once to the Seestar’s own device Wi-Fi, enter your home network in the app and from then on stay online at the same time. On the balcony or close to the house this is the more convenient option; in a garden without Wi-Fi coverage, the device Wi-Fi remains the more stable choice.
How do I connect the Seestar to my phone?
Switch on the Seestar and open the app: it finds the device via Bluetooth and activates it the first time, which requires an internet connection on your phone. After that, your phone switches to the Seestar’s own Wi-Fi. iPhones do this automatically; on Android you select the network manually in the Wi-Fi settings – its name contains the serial number, e.g. “S50Pro_xxxxxx”. Images are transferred entirely over Wi-Fi.
Does this guide also work for the original Seestar S50?
Yes, with one exception: the original S50 has no wide-angle camera, so the scenery and wide-angle mode isn’t available on it. Every other step is the same on the S50, S50 Pro, S30 and S30 Pro; the models mainly differ in aperture, storage and battery. What exactly sets the models apart is shown in our data comparison of the three Seestar models.