By Alexander Merz · Updated on · Details checked on 3 October 2026

Planetary photography is a sub-field of astrophotography. Besides the planets, it also includes the Sun and the Moon as well as comets and asteroids.
Imaging the planets requires a different approach than capturing the deep sky (deep-sky astrophotography), both in technique and in the way the images are processed.
Unlike the deep sky, it can also be carried out successfully in heavily light-polluted areas.

What is planetary photography?
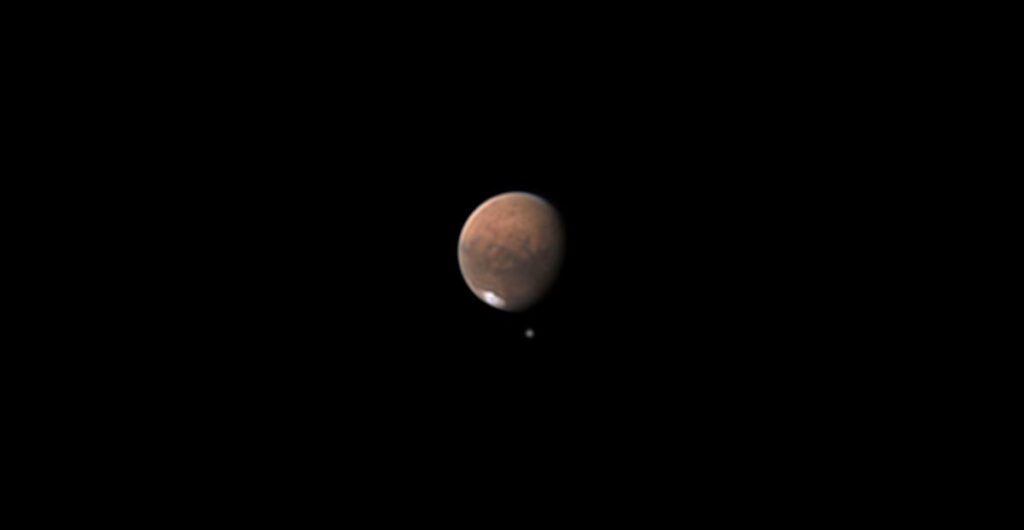
Planetary photography is about creating high-resolution images of our planetary neighbours.
It requires a different approach in both capture technique and equipment compared to classic deep-sky astrophotography.
Unlike deep-sky astrophotography, imaging the solar system can also be done from heavily light-polluted areas, because the objects observed are relatively bright and only briefly exposed.
How can I photograph planets?
Because planets are very small, images taken with conventional cameras and even large lenses provide no meaningful gain in information. In every case we need a telescope as the lens in order to strongly magnify the small planet.
Once we have achieved this, we can take images:
- with a webcam
- with a DSLR, or
- with a dedicated astronomy camera.
In the following article we look at the combination of telescope, mount, accessories and camera (except webcam) required for this.
Special aspects of planetary photography
What is seeing?
Seeing is the phenomenon that makes stars, viewed from Earth, flicker and twinkle. Seeing differs from place to place and day to day, as it is based, among other things, on turbulent mixing of air masses in the atmosphere. This mixing of air masses of different temperatures refracts light like a lens, differently depending on the wavelength.
As a result, on close inspection even point-like objects such as stars, or very fine details of the planetary surface, are not rendered as points but blurred and spread out.
Seeing is expressed in arcseconds, a unit describing a fraction of a degree. One arcsecond corresponds roughly to the angle under which a five-millimetre-wide object appears from a distance of one kilometre.
At a typical mid-latitude location, the average seeing is about 3 arcseconds, which correspondingly limits the resolving power.
A star that actually occupies one arcsecond appears to us, due to seeing, three arcseconds across. This effect is especially significant during exposures of several minutes, as are common in deep-sky astrophotography.
Anyone who wants a more accurate estimate of the current seeing at their location can use the FWHM function of camera-control software or check seeing apps.
What is lucky imaging?
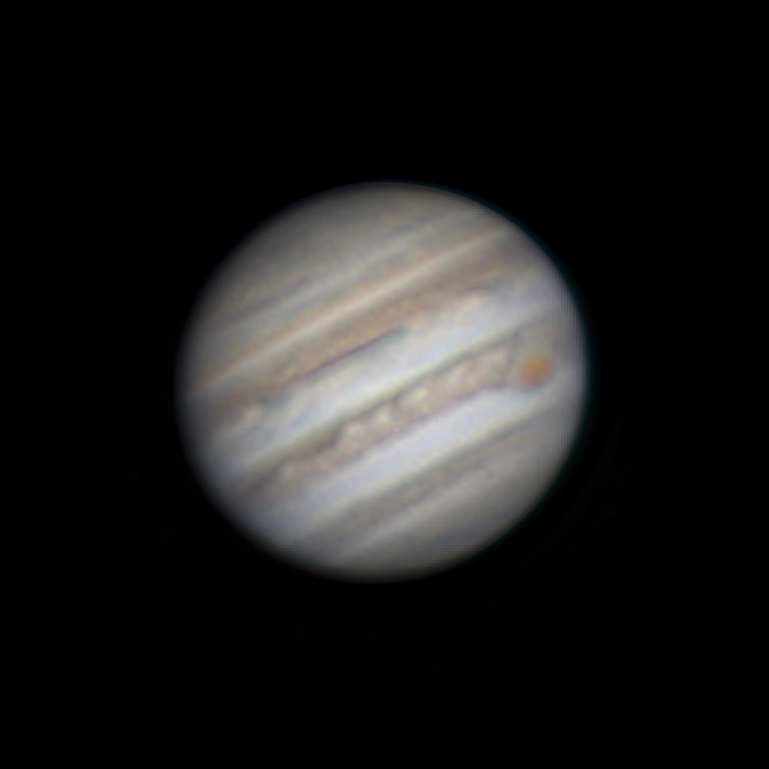
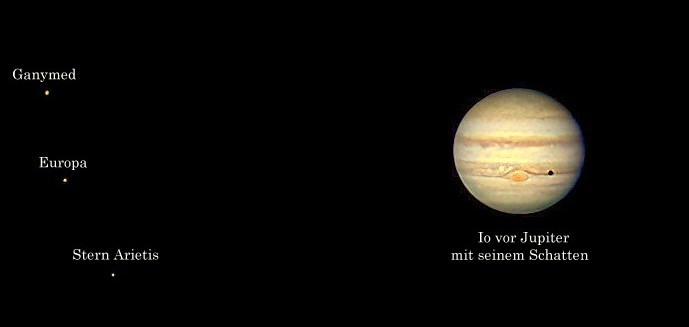
Unlike deep-sky photography, here the atmospheric turbulence (seeing) is practically “frozen” in thousands of exposures using shutter speeds of fractions of a second.
This capture technique is called lucky imaging: among the countless frames, the atmosphere can be frozen at a moment when, luckily, it shows barely any of the effects typical of seeing.
This is where the theoretical resolution of the telescope comes into play. In principle, the limiting factor in astrophotography is seeing; however, with lucky imaging you can capture moments in which seeing has almost no influence and the potential resolving power is determined by the telescope’s optics.
It must be clear, though, that these lucky moments are all the more likely the better the seeing is.
Resolving power and the Rayleigh criterion
The resolving power of a telescope is its ability to still separate two closely spaced objects. The larger the aperture of a telescope, the greater its resolving power (see telescope guide).
The relationship is linear. The wavelength of the light also plays a role.
The Rayleigh criterion states that two point-like light sources can just barely be separated when the first minimum of the diffraction disc (= image of a point-like light source through an optic) of the first source coincides with the diffraction maximum of the second source.
The distance (= resolution) between the two brightness maxima is
A [rad] = 1.22 * λ / D
Taking λ=550 nm as the mean value for visible light and converting to arcseconds gives:
Resolving power A [“] = 138.6 / aperture [mm]
We will need this formula to determine the appropriate sampling for our setup of telescope and camera as well as target object (planet or deep-sky object). A detailed explanation of the relationships is given in the corresponding article.
Exposure duration in planetary photography
In lucky imaging, a large number of exposures are taken in a short time.
A simple rule of thumb for a recommended exposure duration for planets is 1 min 30 s here.

Telescopes for planetary photography
Telescopes suited to planetary photography require a relatively large aperture and a long focal length. A large aperture provides high resolution and high contrast. A long focal length is, unlike deep-sky astrophotography, an important factor in planetary imaging, as it determines the magnification factor. Planets are very bright objects but also very small. To discern details on their surface they must be greatly magnified.
High sharpness and contrast are especially important for distinguishing fine details and differences on the planetary surfaces.
Factors that influence contrast and sharpness are, on the one hand, the size of the aperture and, on the other, the obstruction in the light path.
The same characteristics are also advantageous if you want to photograph the Moon.
Apochromats with long focal length
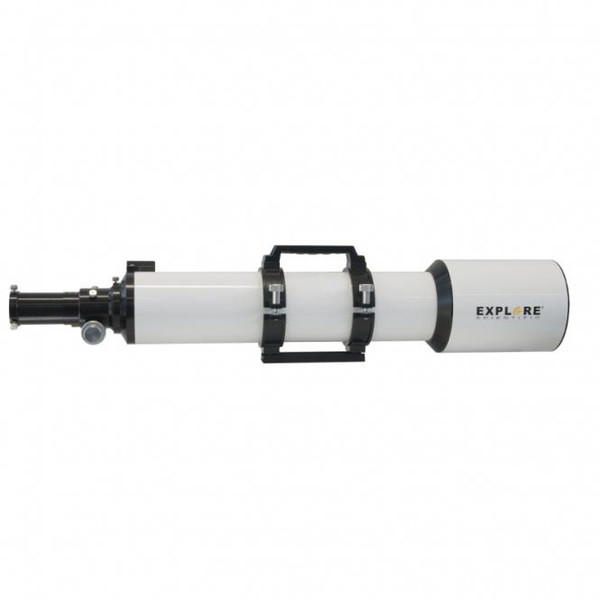
Ideal telescopes for planetary photography would be apochromats (refractors) with a large aperture and long focal length. As they have no secondary mirror in the light path, their image is high in contrast and sharp.
The drawback of refractors is that above a certain aperture and chromatic-aberration correction they become very large and expensive and unsuitable for amateur use.
Schmidt-Cassegrain telescopes
Catadioptric telescopes such as the Schmidt-Cassegrain telescope or the Maksutov telescope offer a reasonable alternative. Thanks to a folded light path, their design enables a very long focal length while maintaining a large aperture.
One downside is a slight obstruction from secondary-mirror elements in the light path. Compared to the refractor, this results in somewhat lower sharpness and contrast.
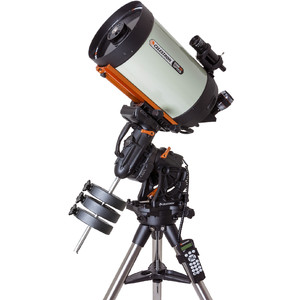
In a direct comparison of catadioptric telescopes, the Maksutov performs better in optical imaging. By design it has a smaller secondary mirror and thus a smaller obstruction than the Schmidt-Cassegrain (33%).
Nevertheless, Schmidt-Cassegrain telescopes are usually the more sensible choice, as they are also cheaper in large sizes and offer more versatile uses. Thanks to their slightly larger focal ratio of f/10 compared to the Maksutov’s usual f/13, they can also be used better for deep-sky astrophotography.
Other long-focal-length telescopes such as the Ritchey-Chrétien telescope are not good telescopes for planetary photography. Due to their high obstruction of 50%, a significant loss of detail and contrast would result.
Mount
As with deep-sky astrophotography, a mount with tracking is essential for planetary photography. Not because of very long exposure times, but because extremely high magnifications must be used.
To do planetary photography, however, an equatorial mount is not strictly necessary; an alt-azimuth mount would suffice, as the phenomenon of field rotation can be compensated by software.
The best results are nevertheless delivered by high-quality equatorial mounts, which are also more versatile.
For the mount to deliver its best results, it must be very precisely aligned and polar-aligned. If this is not done accurately, a north-south drift occurs during the exposure, which is stronger the higher the magnification.
Accurate tracking
Options for accurate alignment and tracking:
- Manufacturer-supported polar alignment: Skywatcher, Celestron
- PHD2 (guide scope, OAG)
- Alignmaster / MGEN
- Polmaster
Planetary imaging is decided at the telescope, not at the camera.
Six short questions, an honest answer by e-mail – with no pressure to buy.
Camera for planetary photography
Because of atmospheric turbulence (seeing), it is very unlikely that the single photo we take will be a good one. That is why we want to take many photos in a short time, in order to freeze the planet and our atmospheric turbulence at every moment.
We do this in the hope of obtaining many images in which the effect of seeing is small. This capture technique is called lucky imaging. From many thousands of images we then select the best and stack them into a good image. These many images are produced by recording a short video at a high frame rate.
In any case, we need a camera that offers a high frame rate and readout speed. In addition, low read noise (<2.5 e-) plays an important role.
CMOS chips are often preferable for planetary photography, as their design allows a higher frame rate. They are also cheaper than CCD cameras.
Another important aspect is the pixel size (not the number of pixels), which must match our telescope. The complex topic of pixel sizes and sampling is covered in detail here.
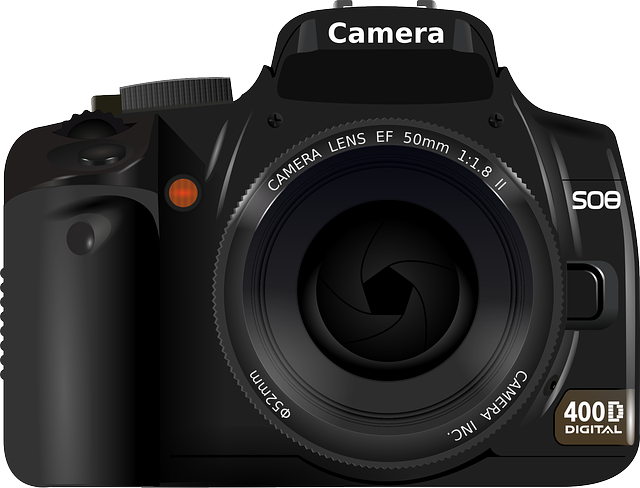
Digital single-lens reflex camera (DSLR)
A digital SLR (DSLR) is often the first camera used to start out in astrophotography. They usually have a CMOS chip and are simpler to handle than dedicated astronomy cameras.
The big advantage of the DSLR is its self-sufficiency. It has its own power supply, a processor, sufficient memory, and a display for control and simple editing.
Dedicated planetary camera
In principle, any camera with a video function or a high frame rate is suitable. Dedicated astronomy cameras with a CMOS chip and low read noise are advantageous. Due to their often very small chip size they are cheap to buy without compromising the capabilities needed for planetary photography. Their operation, however, requires an external power source and a laptop with special (free) software.
Good planetary cameras are available from a few hundred dollarsfrom $199.00€ 299. They come as a colour camera for the beginner or as a monochrome camera for the demanding astrophotographer who, combined with filters, wants to get the most out of it.
Colour or monochrome camera?
Colour cameras offer a comfortable entry into astrophotography. You expose the chip and obtain a colour image. This saves you many exposure series through different filters, which then have to be combined into a colour image during electronic processing.
The colour image is produced by a repeating 2×2 three-colour grid (Bayer matrix) laid over the pixels on the chip.
Green takes up the largest share at 50%, as green contributes greatly to brightness perception and thus to contrast rendering. Red and blue share the remaining 25%.
But this also means that a colour sensor is less sensitive than a monochrome sensor, since at certain light wavelengths not every pixel is used.
Compared to a monochrome camera, 2×2 pixels must thus be expended to capture the signal of a red star. Monochrome cameras are considerably more sensitive and, combined with a colour filter, are the gold standard in astrophotography.
Our camera recommendation
Beginner: a colour planetary camera is the easiest way in. Advanced: a monochrome camera combined with filters gets the most out of the same telescope. The three we recommend:
| Model | Sensor | Ideal for | Price |
|---|---|---|---|
| ZWO ASI662MC USB3.0 Color Astronomy CameraZWO Camera ASI 662 MC Color | Colour | ⭐ Our pickGetting started with planetary imaging: high frame rate, one cable, colour straight away | $199.00€ 299 |
| ZWO ASI585MC Pro USB3 Cooled Color CameraZWO Camera ASI 585 MC Pro Color | Colour, cooled | bigger sensor and cooling – usable for deep sky as well | $599.00€ 799 |
| ZWO ASI120MM Mini Monochrome Astronomy CameraZWO ASI 120MM Mini Mono Camera | Mono | the gold standard described above: mono plus filters, noticeably more sensitive | $199.00€ 229 |
Prices are checked against the shop automatically every day.These three are European stock; in the US, High Point carries the current camera of the same class, ZWO ASI678MC – follow the link for the current price. Which camera suits which telescope is covered in the guide Astrophotography camera.
You can find more information here: Astrophotography camera: what you need to know before buying.
Which pixel size for planetary astrophotography?
The importance of pixel size, sampling and focal length is a complex topic and is dealt with in more detail in the article Pixel size and sampling.
Pixel size and noise
At the same signal, small pixels have a less favourable signal-to-noise ratio than larger pixels. Oversampled images with small-pixel sensors in particular show pronounced noise.
The trend is towards ever smaller pixels in sensors. These sensors, however, are not developed specifically for astrophotography. For most areas of astrophotography, pixel sizes around 4-5 µm are sensible. In planetary photography, pixel sizes of 3-4 µm can often also be used sensibly. As described above, it must also be considered whether it is a colour or monochrome camera.
Oversampling or undersampling
Most often, a range of 0.67 – 2″ / pixel is suggested for sampling.
For planetary photography, depending on the telescope, one will try to use the telescope’s resolving power on clear nights with good seeing, so as to end up rather in the oversampling range for better images than with undersampling. (Note: for deep-sky shots, slight undersampling often leads to better images through a better signal-to-noise ratio and more detailed rendering than oversampling.)
Useful accessories for planetary photography
ADC against atmospheric dispersion

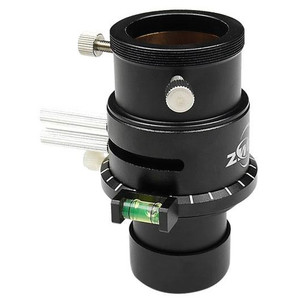
Atmospheric dispersion causes red and blue colour fringes even with perfect, chromatic-aberration-free mirror optics. The cause is the atmosphere, which acts like a prism and refracts light of different wavelengths (= colours) to different degrees.
The effect is especially noticeable at high magnifications (as needed in planetary photography) and when the object is low on the horizon and the light path through the atmosphere is particularly long. An ADC (Atmospheric Dispersion Corrector) can help here.
Popular software in planetary photography
FireCapture
The freeware FireCapture is a capture software specifically for planetary photography. It has numerous useful settings, for example to set the focus or align the ADC correctly.
AutoStakkert!
With AutoStakkert, everything revolves around aligning and stacking image sequences to minimise the influence of atmospheric distortions (seeing). Its goal is to produce high-quality images of the planets, the Sun and the Moon without too much effort.
RegiStax
RegiStax is freeware for further image processing of image stacks.
Application and tutorial in one video
In this video, James Bates guides the viewer through the entire process of planetary photography using Saturn as an example. The video is in English and full of illustrative explanations.
Sources
- Stub Mandrel, Jupiter with Lucky Imaging, CC BY-SA 4.0, retrieved 27/09/2020
