By Alexander Merz · Updated on · Details checked on 21 September 2026
More in our overview: Best Telescopes.
Recommended telescope models
The theory above explains what matters. These are the telescopes we actually recommend on that basis — grouped by what you want to do, with prices and a direct link to the shop.
For beginners: solid gear up to about $350For beginners: solid gear up to about €350
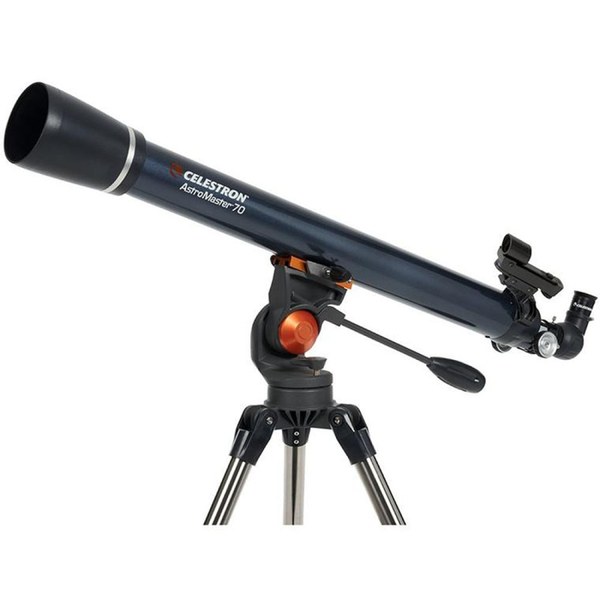 Celestron AstroMaster 70AZ Refractor
The cheapest telescope still worth buying. Moon, Saturn’s rings and Jupiter’s moons, set up in two minutes.
Price: $199.95
View at High Point Scientific* →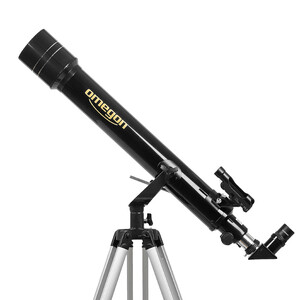 Omegon Telescope AC 70/700 AZ-2
The cheapest telescope still worth buying. Moon, Saturn’s rings and Jupiter’s moons, set up in two minutes.
Price: € 119
Check availability* →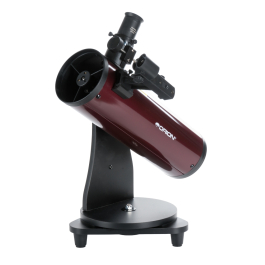 Orion SkyScanner 100mm Tabletop Reflector Telescope
A tabletop Dobson you can carry anywhere — fits in a backpack and still shows lunar craters and Jupiter’s moons.
Price: $129.95
View at High Point Scientific* →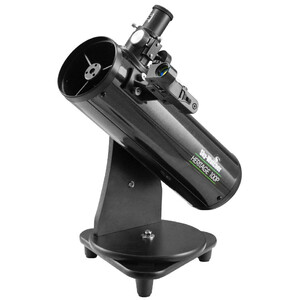 Skywatcher N 100/400 Heritage Telescope
A tabletop Dobson you can carry anywhere — fits in a backpack and still shows lunar craters and Jupiter’s moons.
Price: € 179
Check availability* →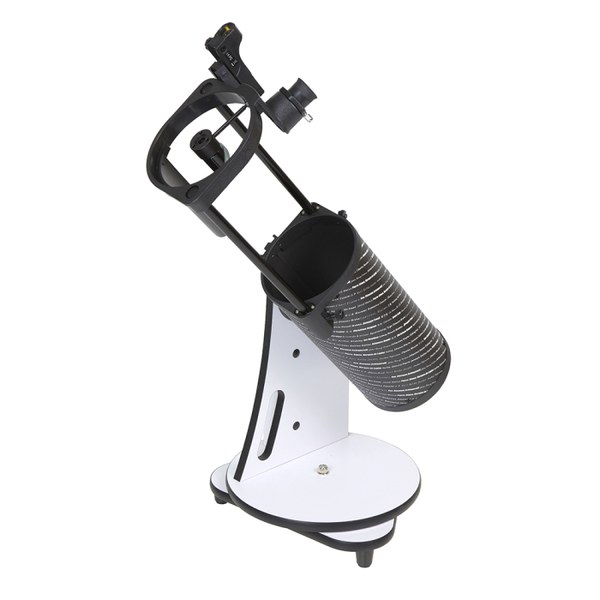 Sky-Watcher Heritage 130 Tabletop Dobsonian
Our pick for beginners: a lot of aperture for the money, a real parabolic mirror, and it folds down for transport.
Price: $305.00
View at High Point Scientific* →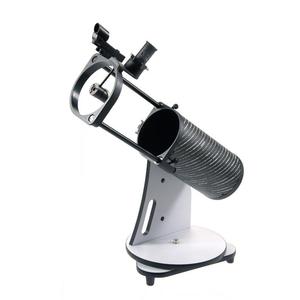 Skywatcher Dobson Telescope N 130/650 Heritage FlexTube
Our pick for beginners: a lot of aperture for the money, a real parabolic mirror, and it folds down for transport.
Price: € 265
Check availability* →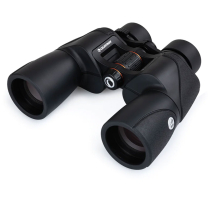 Celestron SkyMaster Pro ED 7x50 Binoculars
Not a telescope, but often the better start: star clusters, the Milky Way and the Moon, handheld.
Price: $219.95
View at High Point Scientific* → Omegon Brightsky 10x50 Binoculars
Not a telescope, but often the better start: star clusters, the Milky Way and the Moon, handheld.
Price: € 289
Check availability* →
More aperture: Dobsonians from 6 to 12 inches
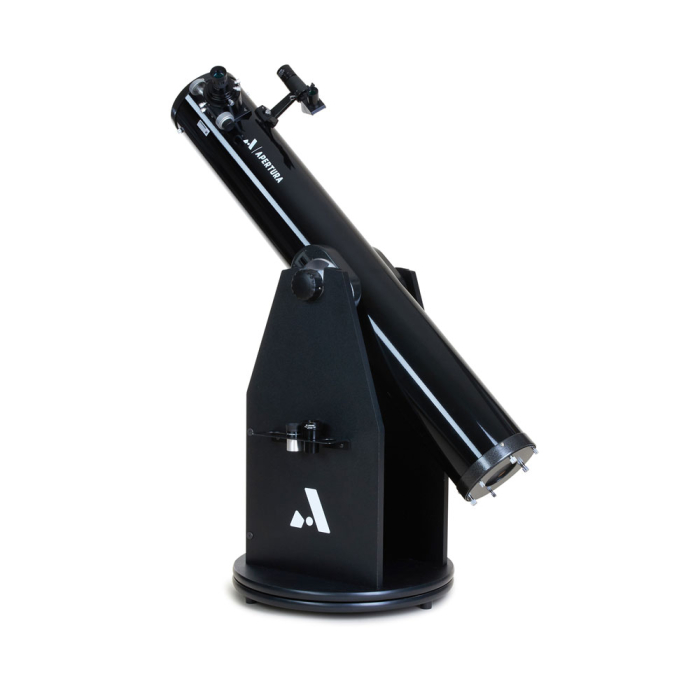 Apertura AD6 6" Dobsonian Telescope
The cheaper way into the Dobson class: 150 mm of aperture when the 8-inch is too big or too expensive.
Price: $499.95
View at High Point Scientific* → Skywatcher Dobson Telescope N 150/1200 Skyliner Classic DOB
The cheaper way into the Dobson class: 150 mm of aperture when the 8-inch is too big or too expensive.
Price: € 359
Check availability* →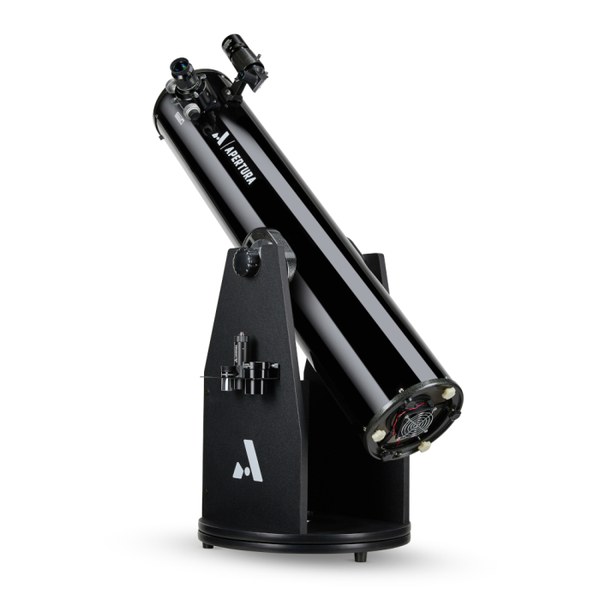 Apertura AD8 8" Dobsonian Telescope
Our best value pick. 200 mm of aperture brings globular clusters and the brighter galaxies into view.
Price: $699.95
View at High Point Scientific* → Skywatcher Dobson Telescope N 200/1200 Skyliner Classic
Our best value pick. 200 mm of aperture brings globular clusters and the brighter galaxies into view.
Price: € 479
Check availability* →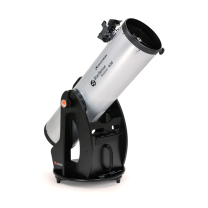 Celestron StarSense Explorer 10" Dobsonian
10 inches for the price of many 8-inch scopes — the cheapest route to much fainter objects.
Price: $1,199.00
View at High Point Scientific* →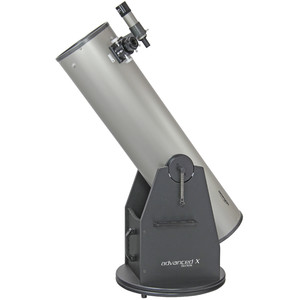 Omegon Dobson Telescope Advanced X N 254/1250
10 inches for the price of many 8-inch scopes — the cheapest route to much fainter objects.
Price: € 622
Check availability* →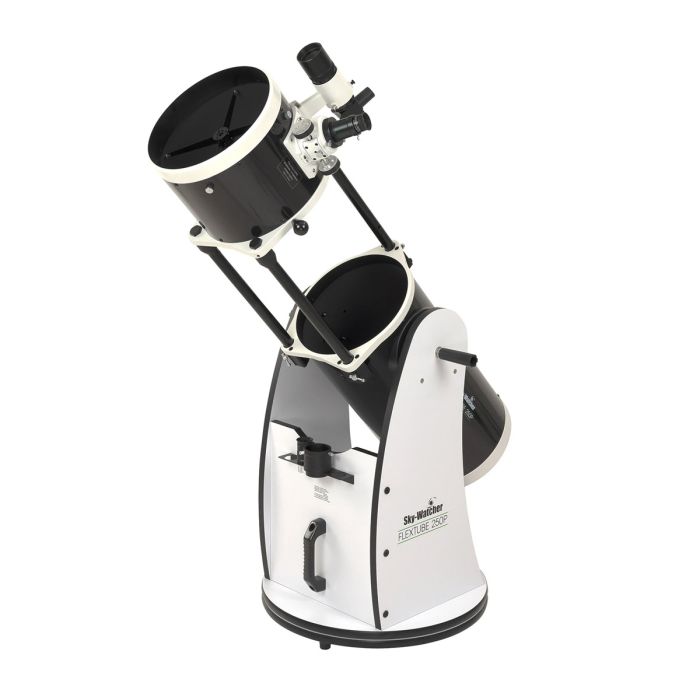 Sky-Watcher 10" Flextube Dobsonian Telescope
254 mm, yet it collapses: still fits in a car and shows noticeably more galaxies than an 8-inch.
Price: $1,150.00
View at High Point Scientific* → Skywatcher Dobson Telescope N 254/1200 Skyliner FlexTube BD DOB
254 mm, yet it collapses: still fits in a car and shows noticeably more galaxies than an 8-inch.
Price: € 899
Check availability* →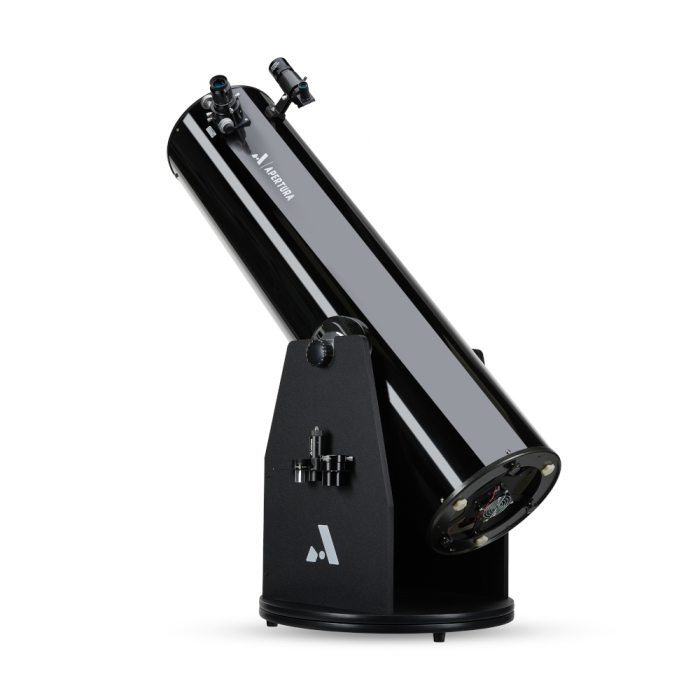 Apertura AD12 12" Dobsonian Telescope
12 inches for serious deep-sky work. Big and heavy — but structure inside galaxies instead of faint smudges.
Price: $1,299.95
View at High Point Scientific* → Omegon Dobson Telescope ProDob N 304/1500 DOB II
12 inches for serious deep-sky work. Big and heavy — but structure inside galaxies instead of faint smudges.
Price: € 1,019
Check availability* →
With app or GoTo control
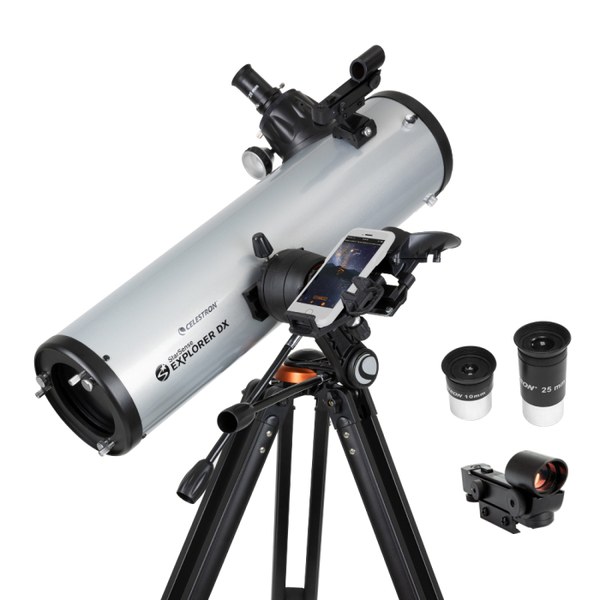 Celestron StarSense Explorer DX 130AZ
Your phone guides you to the object: dock it, follow the arrow, done. Good if star-hopping frustrates you.
Price: $449.95
View at High Point Scientific* → Celestron StarSense Explorer DX 130 AZ
Your phone guides you to the object: dock it, follow the arrow, done. Good if star-hopping frustrates you.
Price: € 599
Check availability* →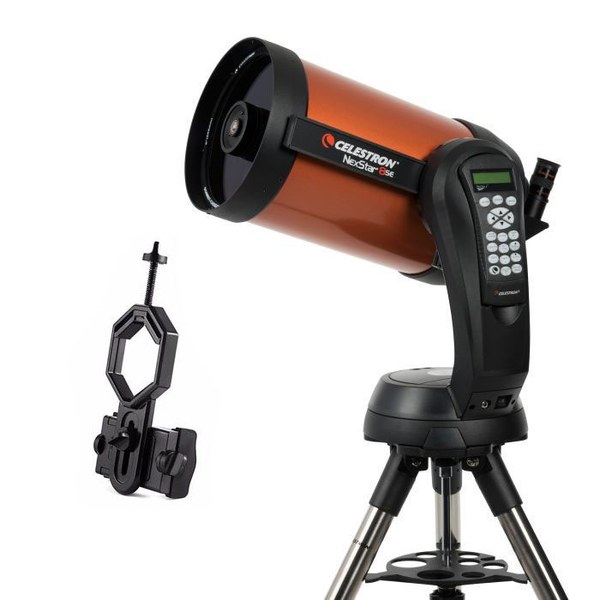 Celestron NexStar 8SE Computerized SCT
The 203 mm GoTo classic: finds over 40,000 objects at the push of a button. Strong on planets.
Price: $1,699.00
View at High Point Scientific* →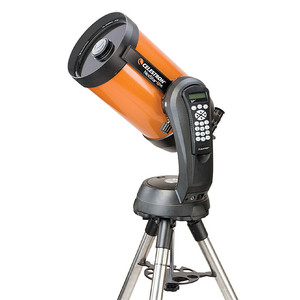 Celestron NexStar 8 SE GoTo Telescope
The 203 mm GoTo classic: finds over 40,000 objects at the push of a button. Strong on planets.
Price: € 2,149
Check availability* →
Smart telescopes: they photograph for you
 ZWO Seestar S30 Pro All-In-One Smart Telescope
Our smart-telescope pick: a mature app, mosaic mode, and it photographs nebulae and galaxies on its own.
Price: $699.00
View at Agena Astro* →- ZWO Seestar S30 Pro Smart Telescope
Our smart-telescope pick: a mature app, mosaic mode, and it photographs nebulae and galaxies on its own.
Price: € 699
Check availability* → 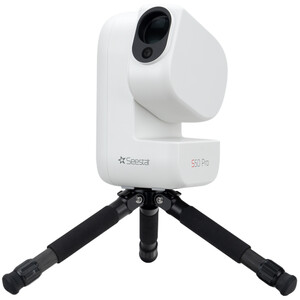 ZWO Seestar S50 Pro All-In-One Smart Telescope
The direct successor to the S50: a 50/260 apo with two cameras and a built-in dual-band filter — it pulls nebulae out of a city sky.
Price: $999.00
View at Agena Astro* →- ZWO Seestar S50 Pro Smart Telescope
The direct successor to the S50: a 50/260 apo with two cameras and a built-in dual-band filter — it pulls nebulae out of a city sky.
Price: € 999
Check availability* → 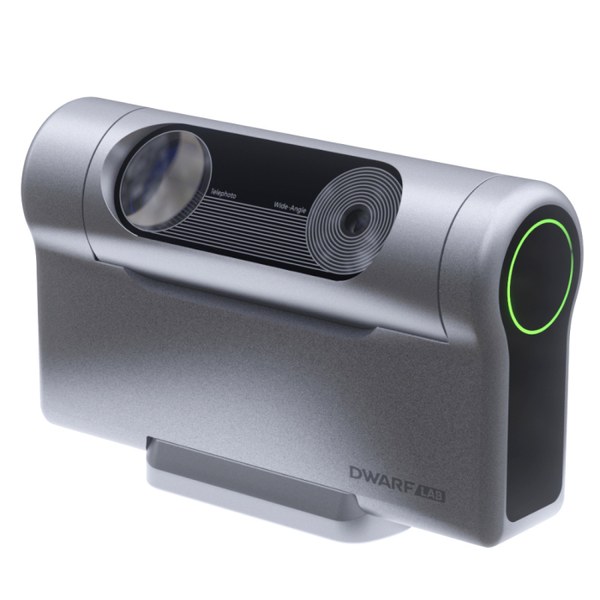 DwarfLab DWARF 3 Smart Telescope
Just 1.3 kg with a wide field — the alternative if large nebulae are what you are after.
Price: $549.00
View at Agena Astro* →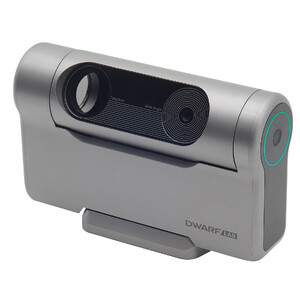 DWARFLAB DWARF 3 Smart Telescope
Just 1.3 kg with a wide field — the alternative if large nebulae are what you are after.
Price: € 529
Check availability* →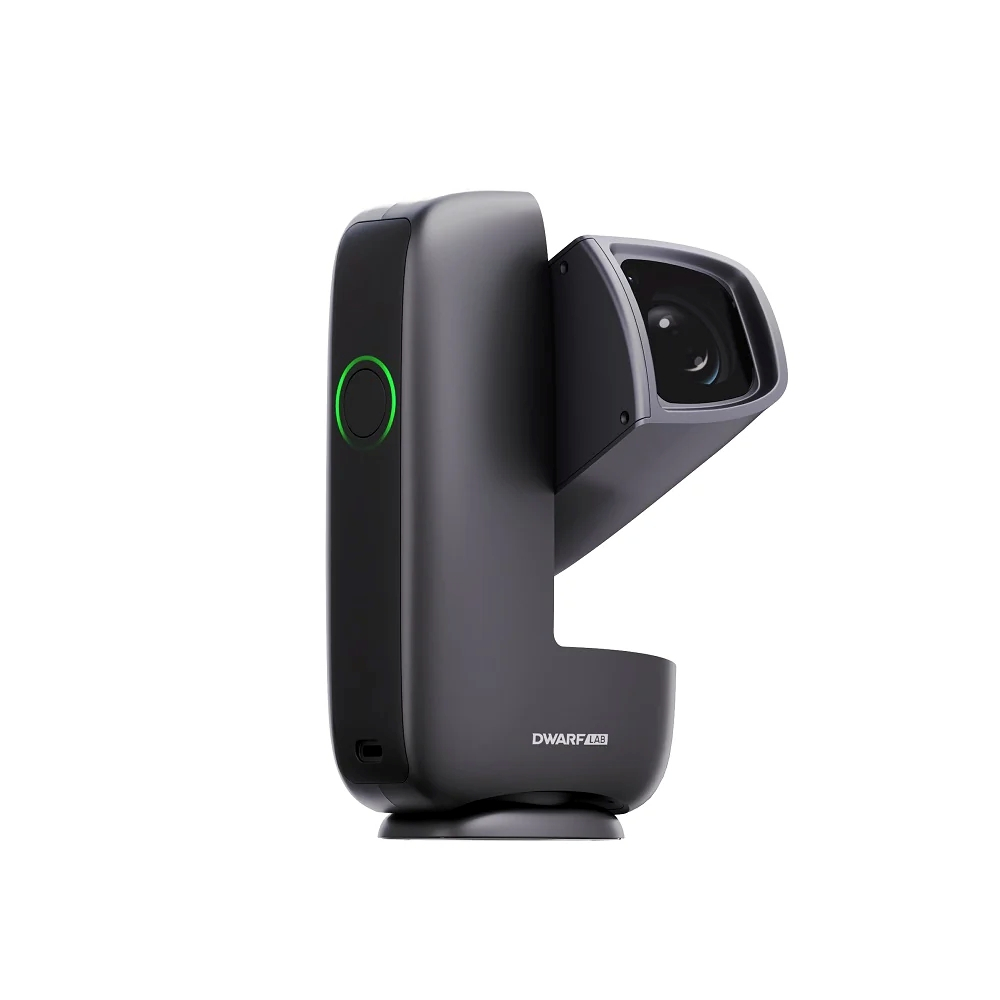 DwarfLab DWARF Mini Smart Telescope
The lightest smart telescope at 840 g: fits in a jacket pocket, made for travelling.
Price: $419.00
View at Agena Astro* → DWARFLAB DWARF mini Smart Telescope
The lightest smart telescope at 840 g: fits in a jacket pocket, made for travelling.
Price: € 429
Check availability* →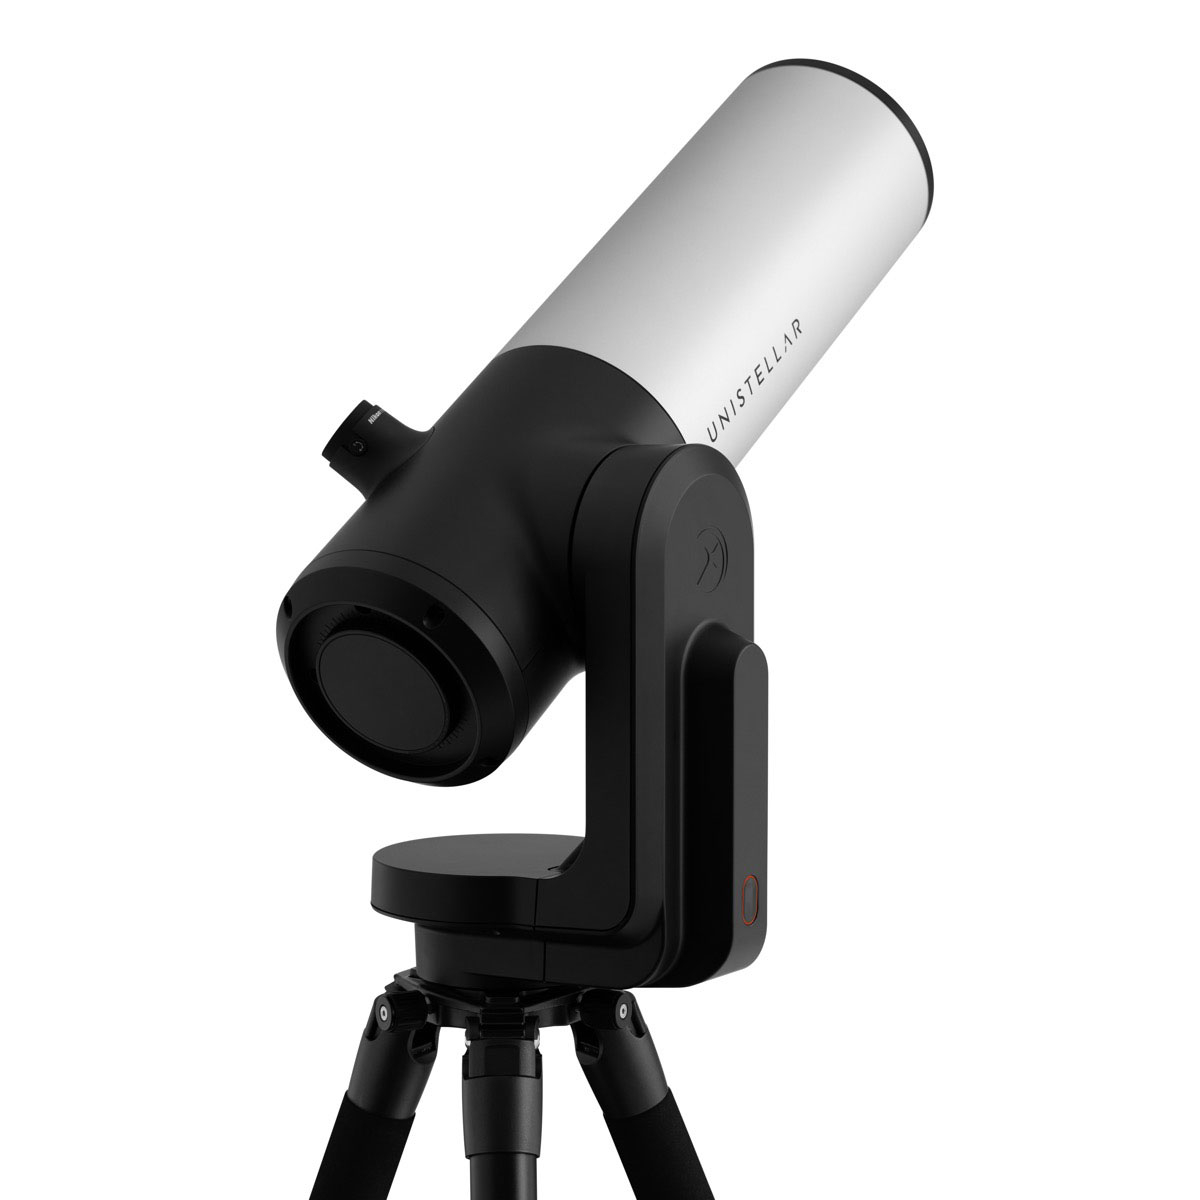 UniStellar eVscope 2 Smart Telescope
Premium class: Enhanced Vision shows galaxies almost live, plus a real OLED eyepiece.
Price: $4,999.00
View at High Point Scientific* →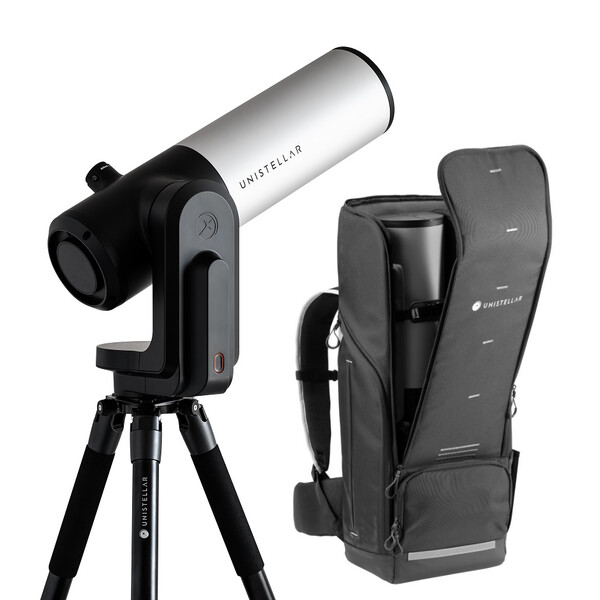 Unistellar eVscope 2 Smart Telescope
Premium class: Enhanced Vision shows galaxies almost live, plus a real OLED eyepiece.
Price: € 4,911
Check availability* →
For astrophotography with your own camera
 Skywatcher 150/750 PDS + EQM-35 PRO GoTo
A photo-capable Newtonian on a tracking GoTo mount — the set that makes deep-sky imaging possible.
Price: € 1,190
Check availability* →
* Affiliate link: if you order through it we earn a small commission, at no extra cost to you. Prices as of the last update.
🧭 Straight to the right buying advice
➡️ Telescope for beginners · Telescope under $300300 euros · Telescope for kids · Smart telescopes · Telescope calculator
The telescope guide sums up the basics you need when you want to buy a telescope. Telescopes for kids or telescopes for beginners should be chosen based on these fundamentals along with a few special considerations. Telescope accessories such as eyepieces or filters can then be added step by step.

Looking to buy a telescope? Here is the quick check.
Telescope basics
The first telescopes were built from lenses inside a long tube. Their appearance still shapes our idea of what a telescope looks like today. The first telescope was built by Galileo Galilei in 1608 and already allowed the observation of four of Jupiter’s moons.
In 1670 Isaac Newton developed a telescope that achieved its optical performance using mirrors. Over time, telescope types were also developed in which lenses and mirrors were combined (for example: Schmidt-Cassegrain telescopes).
The components of a telescope
A telescope essentially consists of three parts:
- Optics: the lens, mirror, or combined optical system facing the object to be observed (objective), plus the eye-side optical system (eyepiece).
- Mount: the device that holds the attached optics and moves them across two axes.
- Tripod: the base of the mount for stable placement on the ground.
The optics of a telescope – the different types of telescopes
The optics consist of the optical system facing the object to be observed (the objective) and the optical system on the eye side (the eyepiece). The objective’s job is to gather light from a distant source and concentrate it at the focal point. Behind the focal point an image forms, which is then magnified for our eye by the eyepiece. This image is rotated by 180°.
Depending on the components used in the objective (lenses, mirrors, or combinations), we distinguish between different types of telescopes, which are explained in this telescope guide:
The refracting telescope (refractor)
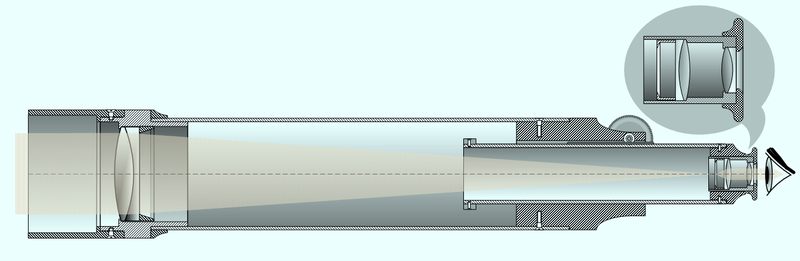
This is the “classic telescope” in most people’s minds. The telescope consists of a long tube with a lens on the object side and a lens on the eyepiece side. The construction and components have advantages and disadvantages:
Advantages:
- High sharpness and contrast
- Stability of the optical system
- Portable
Because there is no secondary mirror or holder in the optical beam path that would partially shade (obstruct) the light path, a refractor can achieve high sharpness and high contrast. This advantage is especially noticeable during nature, moon, and planetary observation.
The lens is firmly connected to the tube, so occasional readjustments like those needed for the secondary mirror of reflecting telescopes are not necessary.
Even good refractors are portable.
Disadvantages:
- Color error caused by chromatic aberration
- High cost
- (Cool-down time)
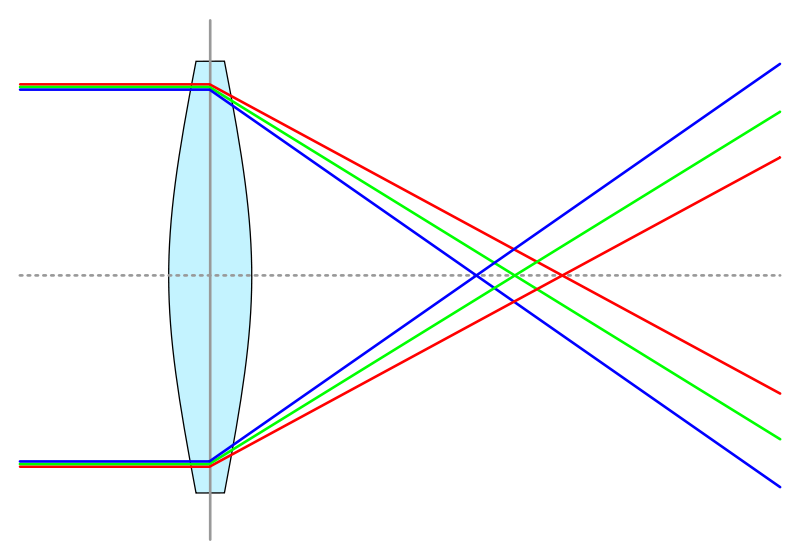
Chromatic aberration describes the phenomenon whereby lenses do not focus colored light (light made up of several colors) at a single focal point; instead each color has its own focal point. This creates colored rings around an object. To compensate, additional lenses made of different types of glass are cemented together, ensuring that all colors share a common focal point. Refractors that show practically no color fringes anymore are called apochromats.
Large lenses are very expensive to manufacture.
Refractors are closed systems. Until the air temperature inside the tube matches the outside temperature, air turbulence (tube seeing) occurs and degrades the image. This aspect depends on the tube size and is only briefly relevant above a certain size.
Use:
Refractors are especially well suited to observing the moon and the planets. Fainter deep-space objects are hard to observe because of the relatively small aperture.
High-quality refractors with low chromatic aberration (achromats) are popular entry-level telescopes for astrophotography.
The intuitive handling of refractors also makes them a sensible choice, from a teaching point of view, as a first telescope for a child.
The reflecting telescope
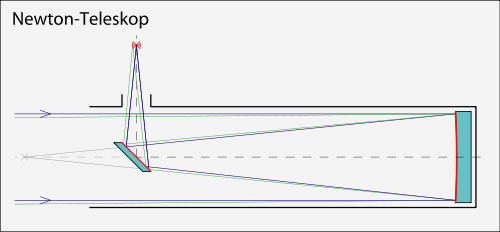
In reflectors, a primary mirror at the lower end of the tube gathers and concentrates the light. It is directed to the eyepiece by a secondary mirror placed in the optical path. The focuser can be located at the front of the tube. The construction and components have advantages and disadvantages:
Advantages:
- Value for money
- Light-gathering power
- Resolving power
- Magnification
- Portable
- Cool-down time
With reflectors, large apertures can be achieved more cheaply than with comparable lens-based or combined telescopes.
A large aperture makes it possible to show fainter objects (galaxies, nebulae, star clusters).
The useful magnification of a telescope is roughly twice the aperture.
Entry-level reflectors are easy to transport.
Reflectors are usually open systems and cool down quickly to the ambient temperature. Air turbulence inside the tube (tube seeing) is not a problem.
Disadvantages:
- Spherical aberration
- Image sharpness
- Readjustment
- Coma error
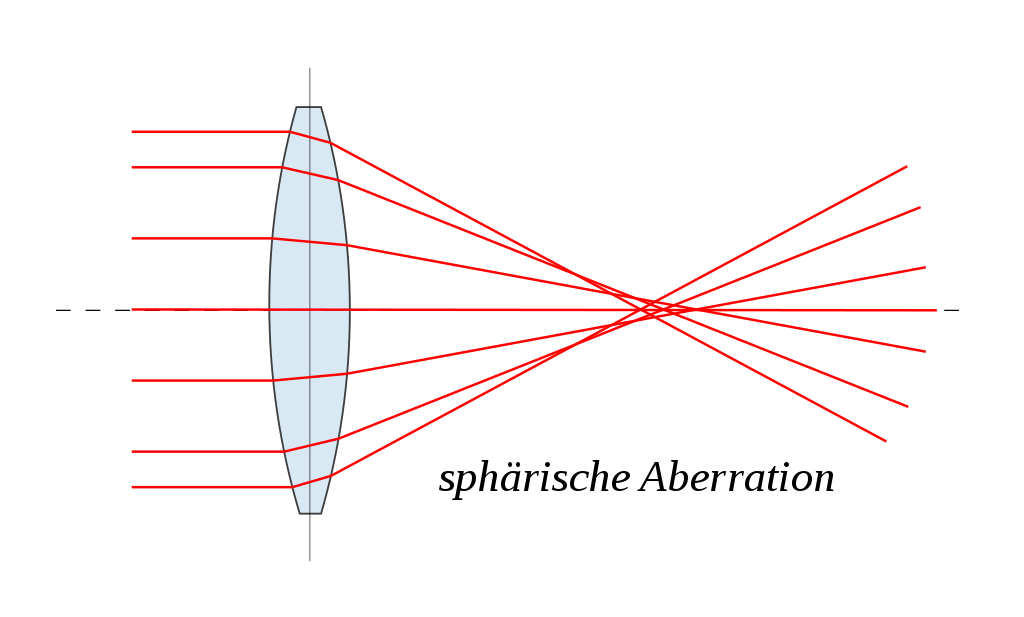
An image error from spherical aberration occurs when the mirror has a spherical (ball-shaped) grind. This is cheaper to produce and is therefore found in many simple entry-level telescopes with a small primary mirror. Light hitting the mirror in parallel is not focused to a single point. The result is blurred images. The problem does not occur when the primary mirror is given a parabolic grind (parabolized).
The reduced image sharpness results from a partial obstruction of the beam path. The obstruction is caused by the suspension of the secondary mirror using a three- or four-strut holding structure (the so-called spider) in the beam path.
The alignment between the primary and secondary mirror must occasionally be readjusted (e.g. after a bumpy transport to the observing site). The effort required for readjustment, however, is extremely low.
The coma image error occurs when light falls obliquely onto the mirror. This light cannot be focused and leads to tail-like distortions of the object in the perceived image. This image error can be corrected with a coma corrector. It is particularly important in astrophotography, where perfect imaging is desired right out to the edge of the frame. In visual astronomy the error can usually be neglected, because the observed object is located in the center of the image.
Use:
Reflectors are often very fast telescopes and are well suited to the visual observation of planets/moons and deep-space objects. In most cases they offer the best value for money.
For use in astrophotography, compensating elements must be placed in the beam path to correct image errors. For visual observation, however, these image errors are negligible.
Catadioptric telescopes (lens-mirror telescopes)
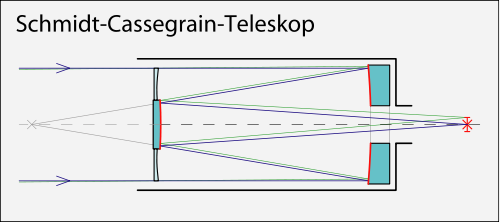
Catadioptric telescopes (for example: Maksutov telescopes, Schmidt-Cassegrain telescopes) combine lenses and mirrors to produce images. The beam path is folded by several mirrors and results in a drastic increase of the focal length.
Special lenses (for example the Schmidt plate) in the optical path often compensate for the coma image error of the spheroidal mirrors. The construction and components have advantages and disadvantages:
Advantages:
- Compact design
- Versatility
- Coma-free imaging
By combining lenses and mirrors, very compact optical systems with high performance can be built. Even large apertures remain very easy to transport this way.
A lens-mirror system such as the Schmidt-Cassegrain telescope is a very versatile and expandable platform. It can be used well for visual observation in all areas. Anyone who later decides to take up astrophotography is well equipped with a modern Schmidt-Cassegrain.
With suitable accessories, imaging is possible both at high magnification and a large focal ratio (camera at the focuser) and at low magnification and a small focal ratio (camera replacing the secondary mirror, in the sense of a Schmidt camera).
Correcting elements in the beam path ensure coma-free imaging. Lens-mirror telescopes are thus also optimized for astrophotography.
Disadvantages:
- High cost
- Superiority only later on
- (Cool-down time)
Catadioptric telescopes show their true superiority in the (semi-) professional field. In catadioptric form, telescopes can deliver high performance in a compact design. They offer a very versatile platform. To make optimal use of this advantage, additional very high-quality accessories are also needed. Costs start in the mid four-figure range.
Schmidt-Cassegrain telescopes are closed systems. Until they have fully cooled down, tube seeing occurs. This time can be reduced by built-in fans.
Use:
Maksutov telescopes produce very sharp, high-contrast images, thanks to the smaller vapor-deposited secondary mirror compared to the Schmidt-Cassegrain. The meniscus lens is large and heavy, and its manufacture becomes expensive as its size increases. The strengths of the design fully unfold on the moon and planets. Its relative slowness makes it less suited to observing most deep-sky objects.
Schmidt-Cassegrain telescopes offer the broadest foundation for entry-level astronomy. They deliver very good observing results in all areas of astronomy. Their compact design makes them easy to transport. In addition, with a suitable mount they are very well suited to astrophotography. However, these good all-round properties come at a price.
The mount for telescopes – what to look out for
The mount is used to hold and move the optical system across two mutually perpendicular axes. Depending on the design and performance, mounts can be very expensive. Mounts can be motor-driven or even have a so-called “go-to” function, with which celestial objects can be approached at the push of a button. This telescope guide covers essentially two types of mounts for telescopes: the azimuth mount and the equatorial mount.
Azimuth mount
With the azimuth mount, alignment is done on the horizontal plane. Usually the telescope has to be moved on both axes to track a celestial object over time. The azimuth mount is not very complex, which is why it is found in many entry-level telescopes and can even be built yourself (rocker box).
Rocker box
The rocker box is a special form of the azimuth mount. It is often used in combination with a Newtonian reflector. This system is called a Dobsonian telescope, named after its inventor.
The special feature of the rocker box is its very simple and robust construction. The optical tube is mounted in a wooden or plastic fork frame. Its movement is individually adjusted with friction screws. This fork is mounted on a rotating base plate. The simplicity of the construction makes this mount very inexpensive; you can even build it yourself. As a result, the target object also has to be tracked by moving on two axes.
Equatorial mount
With the equatorial mount, alignment is done to the Earth’s axis. If the right ascension axis is aligned with the celestial pole (depending on the observing location), a celestial object can be tracked over time by following only a single axis.
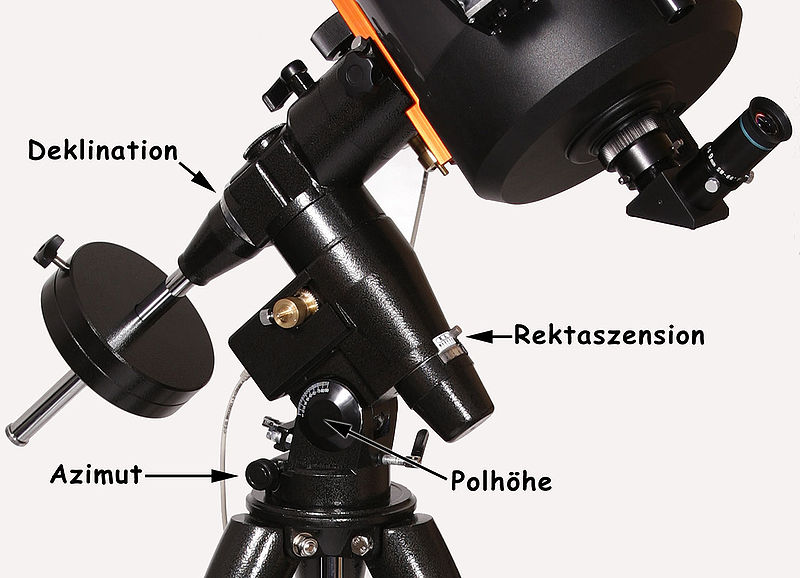
This type of mount is therefore predestined for tracking motors and recommended for astrophotography. The equatorial mount is technically more complex and therefore much more expensive. If the alignment is not precise, then of course you also have to track the celestial object on both axes with this system.
Azimuth – Advantages: favorable price · intuitive operation · robust
Azimuth – Disadvantages: no meaningful upgrade possible · less comfort · manual tracking difficult at high magnification (rocker box)
Equatorial – Advantages: comfortable · reasonably upgradeable (motor)
Equatorial – Disadvantages: expensive · for optimal use, the mount must be aligned (“polar alignment”)
Tripod
The tripod is in most cases a stand made of extendable aluminum sections.
Telescope power – the most important parameters and what they mean
The most important parameters of a telescope are its aperture and its focal length. The other key parameters can be calculated from these two values. To evaluate an offer and select the right telescope, it helps to know the essential effects of these parameters. This telescope guide aims to explain these points clearly using examples.
Aperture
This is probably the most decisive parameter of a telescope. The aperture describes the diameter (in millimeters) of the lens (refractor) or the primary mirror (reflector) and therefore determines the most important properties of a telescope for us:
- Light-gathering power – the ability to visibly render faint objects (e.g. galaxies, nebulae, star clusters).
- Resolving power – the ability to still image two closely spaced points separately.
The aperture is largely responsible for the telescope characteristics we need for a great astronomy experience, and should therefore be chosen as large as possible. The larger the aperture, the …
- … more detail can be resolved (Jupiter’s cloud bands, the Cassini division of Saturn’s ring system).
- … higher the maximum useful magnification that can be selected.
- … higher the minimum useful magnification that can be selected.
- … more light can be gathered to obtain impressive images of even faint objects such as galaxies and nebulae.
Because the light-gathering property of the telescope is based on a quadratic function, increasing the aperture has an exponential effect.
Telescope guide example:
A 200 mm reflector has twice (x2) the aperture of a 100 mm reflector, but its light-gathering capacity is four times (x4) that of a 100 mm reflector.
The focal length of a telescope
The focal length corresponds to the distance from the objective or the primary mirror to the focal point and is specified in millimeters. Many dubious offers suggest that a particularly long focal length leads to particularly high telescope performance, because it determines the theoretical magnification. But this is nonsense, because what is decisive is the maximum useful magnification, which is defined by the aperture.
Effects of long focal lengths:
- The eyepiece has to magnify the objective image less. This means less image information is lost through the eyepiece’s magnification and fewer image errors arise (sharper image).
- With long focal lengths, image errors (chromatic aberration) matter less, so savings can be made on lens quality.
- The observed section of the sky shrinks as focal length increases. This makes it harder to find objects and hinders the observation of extended sky objects (nebulae).
Characteristics derived from aperture and focal length
The two most important parameters (aperture and focal length) have now been introduced. From these values, further parameters can be derived to assess a telescope’s performance, and they are highlighted in this telescope guide.
Magnification
The magnification factor of a telescope results from the focal length of the objective (telescope) and of the eyepiece:
theoretical magnification = telescope focal length / eyepiece focal length
What we can learn from this equation is that the eyepiece used defines the telescope’s magnification. This means that, to get started in astronomy, it makes sense to have two or three eyepieces.
> Beginners often make the mistake of thinking that a telescope must have the highest possible magnification to be a good telescope. For this reason they often choose a long telescope focal length and a short eyepiece focal length.
In reality, however, the aperture is decisive for magnification. The aperture diameter roughly determines the maximum useful magnification at which the best image is produced relative to the magnification factor:
maximum useful magnification = 2 x aperture
If the image is magnified beyond this point, image quality deteriorates again.
In addition, the maximum useful magnification is also limited by the turbulence of the Earth’s atmosphere, so that magnifications of more than about 180x to 220x are rarely possible even under the best conditions.
Besides the maximum magnification, there is also the little-noticed minimum useful magnification. It is again defined by the telescope’s aperture and the maximum opening (age-dependent) of the eye’s pupil (about 7 mm):
minimum useful magnification = aperture / 7 mm
If the magnification is below the minimum useful magnification, an image (exit pupil) forms in the eyepiece that is larger than the maximum opening of the dark-adapted pupil (7 mm). As a result, light (information) is lost because the image cannot be fully reproduced on the retina.
optimal magnification = aperture / 0.7
The optimal (beneficial) magnification of a telescope is the magnification at which we use the objective’s maximum resolving power. If we magnify beyond that, only the imaged object becomes larger, without our being able to see any further detail.
Focal ratio and f-number
In many telescope descriptions you will find specifications such as f/10 or f/7.9. Behind this lies the focal ratio. It is defined by the aperture and the focal length:
focal ratio = focal length / aperture
Example:
A telescope with an aperture of 200 mm and a focal length of 2000 mm has a focal ratio of 2000/200 = 10. The accepted notation is f/10.
The reciprocal of the focal ratio is the f-number, which in this case corresponds to 10.
The f/x notation comes from photography. This is also the origin of the term “fast optics” or “slow optics”. Fast optics have a small focal ratio (and thus a large f-number) and expose the film faster than optics with a large focal ratio (slow optics).
Small focal ratio (e.g. f/5) – “fast optics”: large aperture · short focal length · higher f-number → good light collector · good resolving power · higher maximum useful magnification · higher minimum useful magnification · shorter exposure time (astrophotography) · deep-sky telescope
Large focal ratio (e.g. f/13.8) – “slow optics”: small aperture · long focal length · lower f-number → higher contrast and sharpness · longer exposure time (astrophotography) · small image detail (astrophotography) · planet/moon telescope
Relevant image errors
Image errors occur when light is refracted or reflected as it passes through the telescope. It is worth noting that image errors have less effect on telescopes with long focal lengths. There are several ways to reduce the effects of image errors. The most important image errors are finally addressed in this telescope guide:
Chromatic aberration
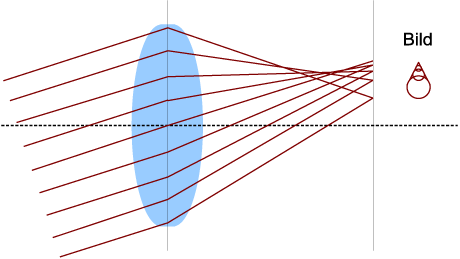
Chromatic aberration means that the different color components of light are refracted to different degrees when passing through a lens, so the colors have different focal points. Observed objects show colored fringes. This phenomenon is material-specific. By combining (cementing) lenses made of different materials, this color error can be considerably reduced.
Spherical aberration
Spherical aberration affects telescopes with a spheroidal (hemispherical) ground mirror. Light hitting the edge of the mirror is focused to a different point than light hitting the center of the mirror. This results in blurred images. The remedy is a parabolic mirror, which focuses all light rays to the same point, or an upstream lens (Schmidt plate).
Coma
The coma image error occurs when light falls obliquely onto the mirror. This light cannot be focused and leads to a blurred distortion of the object in the perceived image. This image error can be compensated for with a coma corrector.
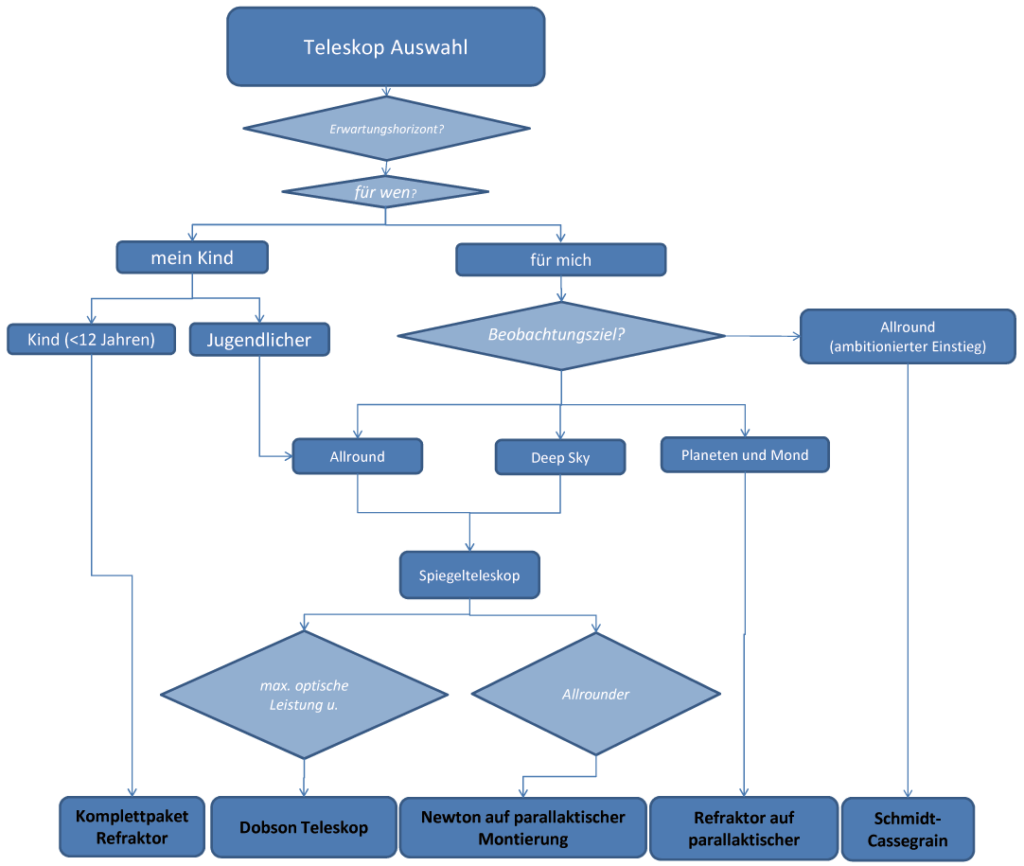
Decision chart – which telescope should you choose?
To cope with the overwhelming variety of possible telescopes, we have tried to create a decision tree for selecting a telescope. Perhaps it will help you when you want to buy a telescope.