By Alexander Merz · Published on · Details checked on 6 November 2026
Collimation means aligning the mirrors or lenses of a telescope until their optical axes line up with the focuser. On a Newtonian telescope and a Dobsonian this concerns the secondary and primary mirror, and it is needed regularly.
⭐ In short: Secondary mirror first, then the primary mirror, and finally the star test. A collimation cap is enough to start with, a laser collimator saves time – but only if its own beam is straight. If you transport your telescope often, check it before every night out; an instrument that stays indoors gets by with once or twice a year.

How to recognise poor collimation
The star test takes one minute and needs no tools. Put a bright star in the centre of the field at high magnification and turn the focus slightly out. You see a bright disc with a dark hole – the shadow of the secondary mirror.
If the hole sits in the middle and the rings are even, everything is fine. If it is shifted to one side, the optics are tilted. In the focused image the same fault shows up as a one-sided tail on stars and as dull, unsteady planets (Sternhimmel über Ulm, Kollimation – in German).
⚠️ Don’t confuse it: Stars that boil and swell after setting up are usually warm air in the tube or turbulent atmosphere, not miscollimation. Let the telescope cool down for about 30 minutes before you judge (Sternhimmel über Ulm, in German). And a dark spot in the middle of the image at low magnification is the secondary mirror shadow at a large exit pupil, not a collimation error.
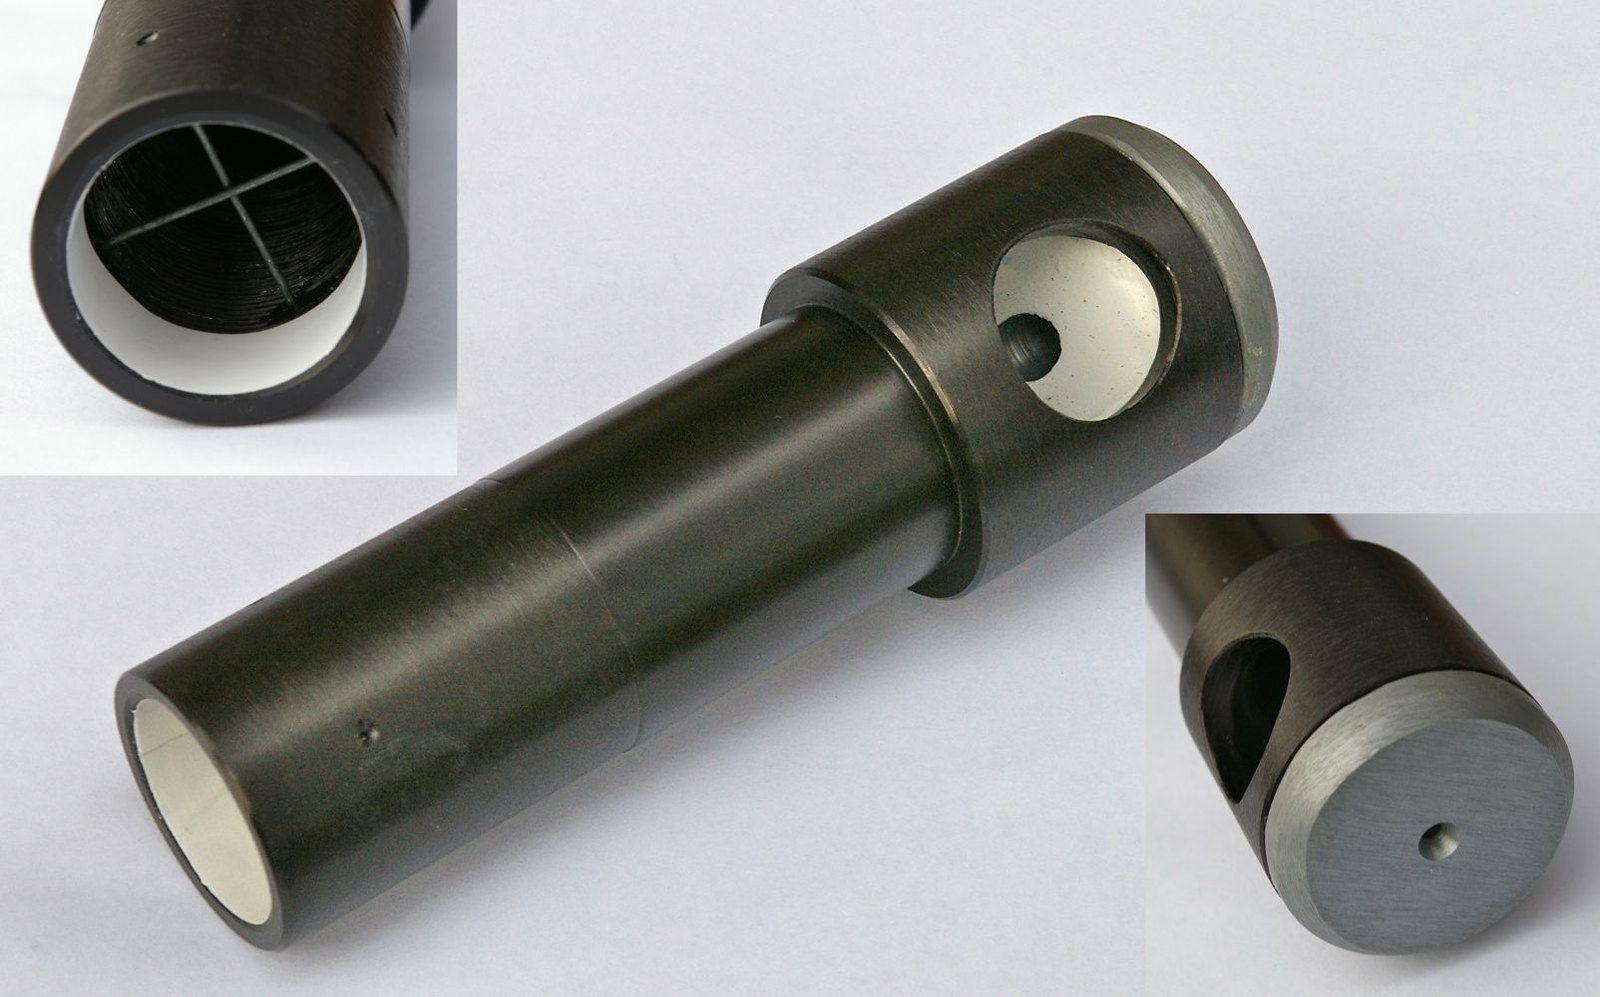
Tools: cap, Cheshire, laser
For a Dobsonian used visually, the simplest tool is enough. More expensive aids make collimation faster and possible in the dark, but not automatically more accurate.
| Tool | What it does | Catch |
|---|---|---|
| Collimation cap (cover with a hole) | centres your view, enough for secondary and primary mirror | needs daylight and practice in reading the mirror reflections |
| Cheshire eyepiece | illuminated ring and crosshairs, very good for positioning the secondary | only in light, not in the dark |
| Laser collimator | ⭐ For travelling Dobsoniansdone in minutes, even at night | must be collimated itself and sit straight in the focuser |
| Collimation camera (e.g. OCAL, easyCol) | shows the view down the focuser on a screen, for astrophotographers | more expensive, needs a laptop or phone |
In a German-language astronomy forum, the laser is a never-ending argument. One camp says a laser can only check the centre, not the position of the secondary mirror; the other has collimated its Newtonians with one for years without problems (forum.astronomie.de, April 2026, in German). The practical compromise: secondary mirror with a cap or Cheshire, primary mirror with the laser, final check on a star.
For quick collimation: Bresser Laser Collimator 1.25″
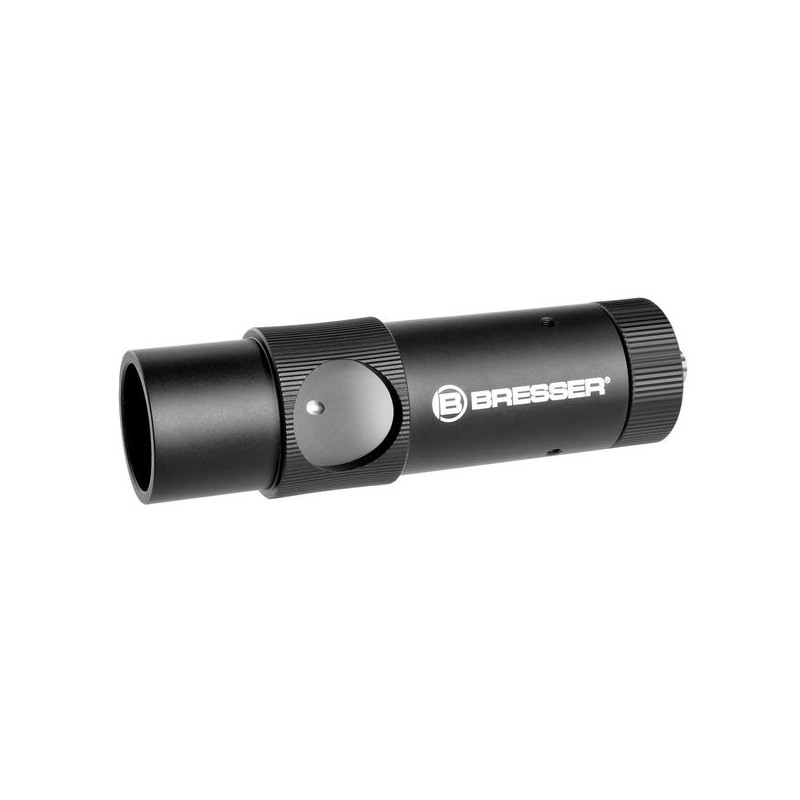
Fits any 1.25-inch focuser and shows at once where the beam goes. Check it before first use: rotate it in the focuser – if the dot wanders on the primary mirror, the laser itself is crooked.
Price: € 74.90
How to collimate a Newtonian: step by step
Collimate in daylight and somewhere warm, not at night with numb fingers. Lay the tube horizontally so that no tool can fall onto the primary mirror. A bright sheet of paper opposite the focuser makes the mirror edges easier to see.
round and centred in the focuser
whole primary mirror visible
centre mark in the middle
concentric rings
Step 1: Centre the secondary under the focuser
Look through the collimation cap into the empty focuser. The secondary mirror should appear as a round surface in the middle of the focuser tube. If it is shifted towards the primary mirror or the tube opening, correct this with the central screw of the holder, which moves it along the tube.
In fast Newtonians the secondary mirror looks slightly off-centre – that is intentional. This so-called offset compensates for the tilt; on an f/5 instrument it is so small that you can barely see it separately (forum.astronomie.de, August 2026, in German). Don’t try to “collimate it away”.
Step 2: Tilt the secondary onto the primary
Using the three small screws on the secondary holder, tilt it until you see the complete primary mirror with all three mirror clips in the secondary. With a laser you instead aim the dot exactly at the centre mark of the primary mirror.
Only ever an eighth of a turn, then look again. The three screws work against each other: loosen one, tighten the others, otherwise the mirror tilts back when you tighten it.
Step 3: Align the primary mirror
At the back of the mirror cell there are three collimation screws and usually three locking screws. Loosen the locking screws first, otherwise nothing moves. Then tilt the primary mirror until the reflection of the secondary, together with your eye, sits exactly in the centre mark – with a laser, until the beam falls back into the laser’s aperture.
Finally, tighten the locking screws carefully and check again. This is exactly where the result most often shifts a little again (Sternhimmel über Ulm, in German).
Tip: If your primary mirror has no centre mark, stick a small paper ring exactly in its centre. That area lies in the shadow of the secondary mirror and costs no light. It is easiest with a cardboard template the size of the mirror, once the mirror is out anyway for cleaning.
Step 4: Star test as the final check
Every tool is only a preliminary step; the final judge is a star. On that point even the laser critics and laser fans in the German-language forum agree (forum.astronomie.de, April 2026, in German).
Pick a bright star high in the sky that hardly moves, such as Polaris. Centre it, defocus slightly, compare the rings. If the shadow is off-centre, turn the primary mirror screws in the direction that pushes the star towards the edge of the field, and bring it back to the centre with the mount.
Checking a laser collimator: the most common pitfall
A crooked laser will reliably collimate your telescope wrongly. In the German-language forum a Dobsonian owner describes exactly that: everything looked perfect until the laser dot started to wander when he rotated the laser in the focuser (forum.astronomie.de, April 2026, in German).
How to check it: tube horizontal, focuser pointing straight up, insert the laser but do not clamp it, and turn it slowly. If the dot clearly wanders in a circle, the laser is out of collimation; on many models it can be adjusted with hidden little screws.
The second source of error is the clamping. A single thumbscrew pushes the laser crooked in the focuser, and because the beam travels the full focal length to the primary mirror, fractions of a millimetre matter (forum.astronomie.de, January 2022, in German). A focuser with a compression ring or an adapter with a collet sits more repeatably.
How often do you need to collimate?
What matters is how much the telescope gets shaken, not the calendar. A Newtonian in a car boot goes out of alignment faster than one that is only carried from the living room to the patio.
| Design and use | Check |
|---|---|
| Newtonian/Dobsonian, travels by car | before every observing session |
| Newtonian/Dobsonian, stays at home | every few weeks to months, after every mirror removal |
| Schmidt-Cassegrain | about once a season |
| Maksutov, refractor | rarely to never |
Short, fast Newtonians are more sensitive than long ones. An f/4 astrograph is much less forgiving than an f/8 planetary Newtonian, and for photography with a coma corrector the basic collimation is often not enough – there a fine adjustment with the camera on a star follows (forum.astronomie.de, August 2026, in German).
Collimating other telescope types
On a Schmidt-Cassegrain only the secondary mirror is adjusted, using three screws at the front in the centre of the corrector plate. You work directly on a defocused star with very small turns (Sternhimmel über Ulm, in German; practical example: forum.astronomie.de, C8, in German).
Maksutovs and refractors are collimated at the factory. On a Maksutov the secondary is a mirrored spot on the corrector lens, on a refractor the lenses are fixed in their cell. If such an instrument shows distorted star images, it belongs back with the dealer rather than on the kitchen table.
No desire to collimate? Then a refractor or a Maksutov is the low-maintenance choice. In return you get less aperture for your money than with a Newtonian – see the comparison in reflector vs refractor.
FAQ about collimation
What does collimating mean?
Collimating means aligning the optical axes of a telescope with each other. Many amateur astronomers simply call it “aligning” or “adjusting” the optics; they mean the same thing.
Can I break something while collimating?
Hardly, as long as you work in small steps and don’t force anything tight. The biggest risk is a tool falling onto the primary mirror – so lay the tube horizontally. Even a completely misaligned telescope can always be set up again with a cap and some patience.
Do I need a laser collimator?
No. A collimation cap is enough for a visual Dobsonian. A laser is worthwhile if you transport the telescope often and want to readjust at night at the observing site.
Does a new telescope need collimating?
Often yes, because shipping shakes the mirrors. Some specialist dealers collimate telescopes before shipping, but you should still check after unpacking (dealer post on forum.astronomie.de, December 2025, in German).
How long does collimation take?
Allow half an hour the first time. With practice and a laser it takes a few minutes, with a collimation cap about a quarter of an hour.
Read more: Newtonian telescope · Cleaning Newtonian mirrors · Dobsonian telescope
Links marked with an asterisk (*) are affiliate links. If you buy through them, we receive a small commission – the price stays the same for you.