By Alexander Merz · Updated on · Details checked on 14 September 2026
The Sun is the only star where you can see real detail without expensive gear: dark spot groups that drift across the disk and change from day to day. You don’t need a special telescope for that – but you absolutely need a proper solar filter.
That’s exactly where most beginners get stuck: filter film, mounted filter, eclipse glasses, smart telescope – which of these is safe, and which one fits your gear? This guide answers both and shows you how to get started for under € 30.
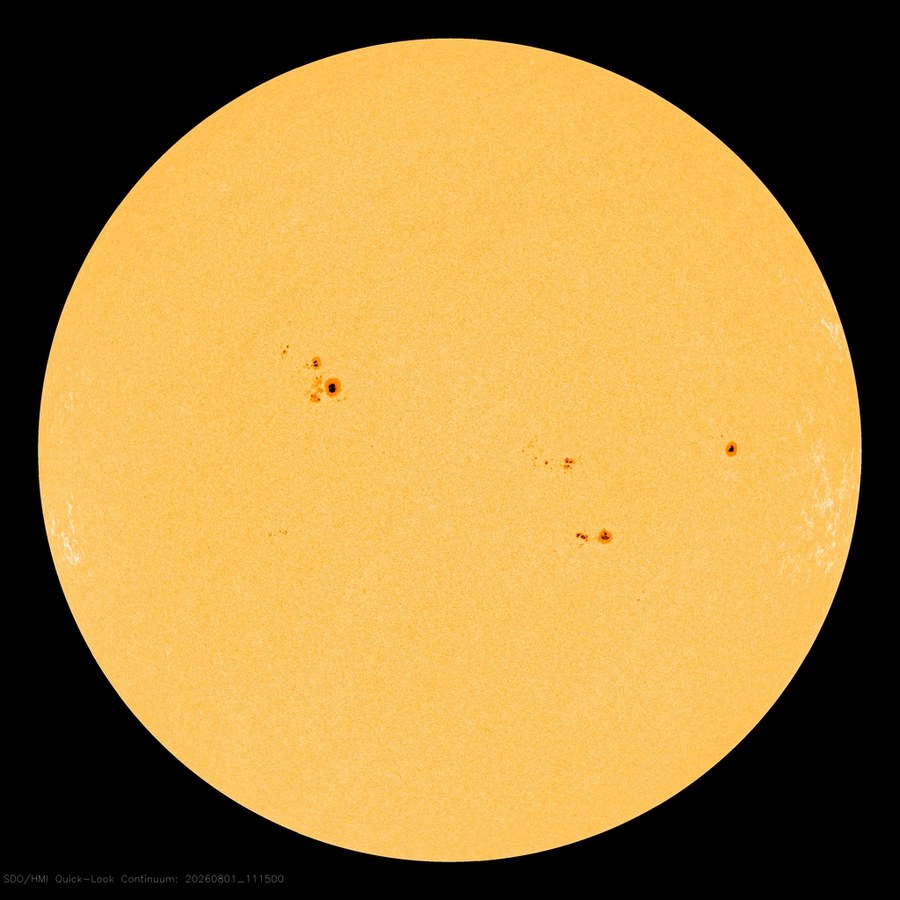
What you can see on the Sun
In white light – through film or a mounted filter – the Sun mainly shows sunspots: dark zones where strong magnetic fields choke the energy supply from below. Large groups are obvious even in the smallest telescope, and on peak days they show up as tiny dots in plain eclipse glasses.
In steady air you can make out two zones in every spot: the almost black core (umbra) and the gray fringe around it (penumbra). Add bright faculae near the limb and – from about 100 mm of aperture – the fine texture of the surface, the granulation.
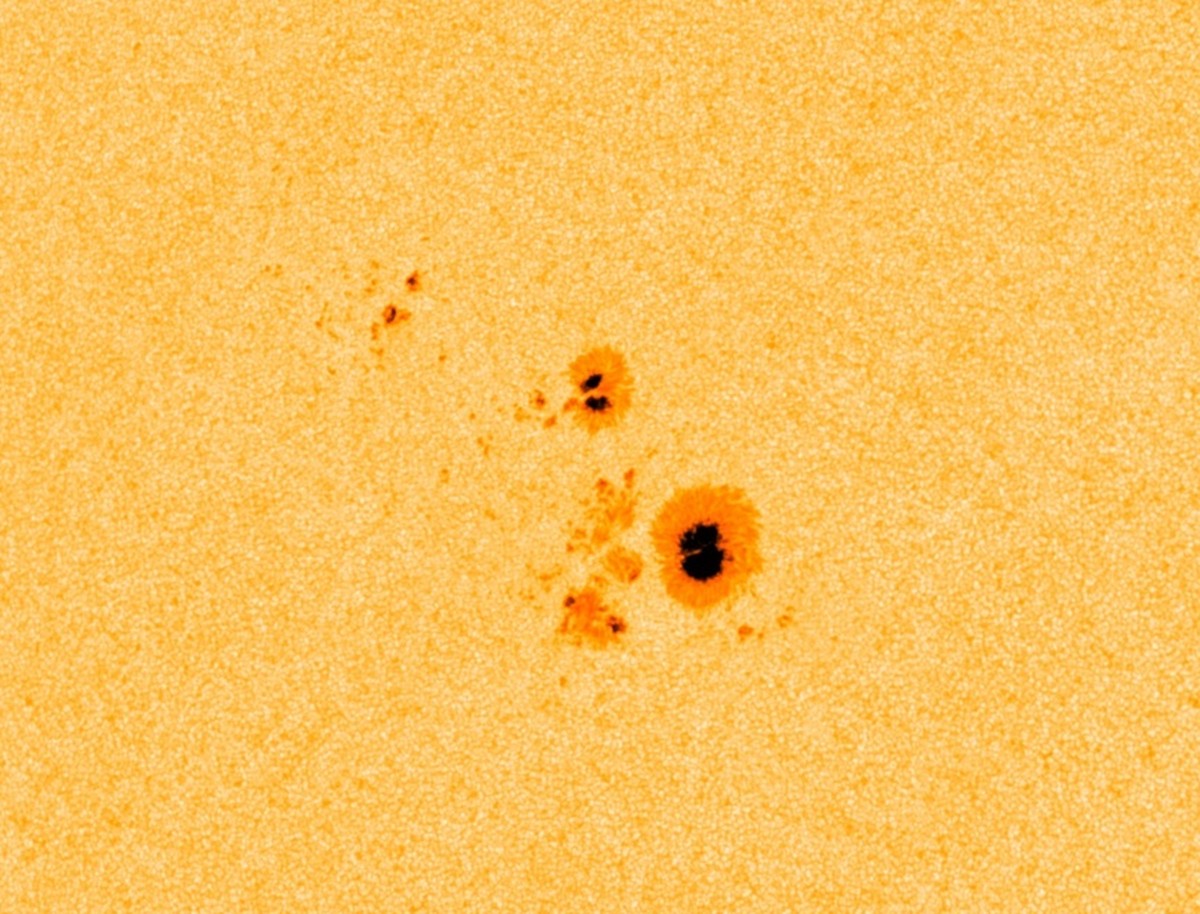
Best of all: the Sun is never the same twice. The 11-year cycle has only just passed its maximum, so the disk shows new groups almost daily – our current solar activity page tells you what’s visible right now. And unlike night-sky targets, you observe comfortably in daylight – no freezing, no dark-sky site.
The three safe ways to view the Sun
All safe methods follow the same principle: the light is dimmed before it enters the optics. A filter at the eyepiece sits in the concentrated beam instead – it heats up and can crack, with your eye right behind it.
In practice, three approaches have won out – they differ in price, DIY effort and target device:
| Approach | Cost | Best for |
|---|---|---|
| Filter film you cut yourself | from € 25 | Telescopes and binoculars of any size – the cheapest and most flexible option, about 20 minutes of crafting |
| Ready-made mounted filter | from € 34.90 | If you don’t want to craft anything, or your device has a standard size (e.g. Seestar S50, 50 mm binoculars) |
| Smart telescope with solar mode | filter usually included | Seestar and DWARF ship with a solar filter and find the Sun via app – the most convenient way in |
Which solar filter for which device?
The good news: safe solar observing is cheap. Every product in this table uses the same proven filter technology (OD 5.0, i.e. 1/100,000 of the light) – the only difference is how it attaches to your gear.
| Your device | Matching filter | Why | Price |
|---|---|---|---|
| Naked eye | Omegon Solar Safe eclipse glasses | For eclipses and the largest spot groups – a first step, and great for showing the Sun to kids | € 5 |
| Telescope up to about 130 mm, or binoculars | Baader AstroSolar ECO 14×15.5 cm | ⭐ Our pickThe standard solution: one sheet makes one telescope filter or two binocular filters – the solar filter our readers buy most | € 25 |
| Telescope over 130 mm, several devices | Baader AstroSolar film 20×29 cmBaader AstroSolar film 20×29 cm | Same film, bigger sheet – worth it from two filters up, or for large apertures | $36.00€ 40 |
| ZWO Seestar S50, 50 mm binoculars | Omegon 50 mm solar filter | Ready-mounted snap-on – as a replacement for the original filter, or for your binoculars | € 34.90 |
| On the go, no crafting | Lunt Sunocular 6×30 | Solar binoculars with built-in filters and 6× magnification – unfold and you’re done | € 69 |
For two people a single pair is enough. For a family, neighbours or a school class the same glasses come as a three-pack (€ 13) or a five-pack (€ 20) – cheaper per pair than buying them one at a time, and one is left over as a spare.
Links marked with an asterisk are affiliate links.
Our pick: Baader AstroSolar ECO-size Safety Film OD 5.0 (14x15.5 cm)
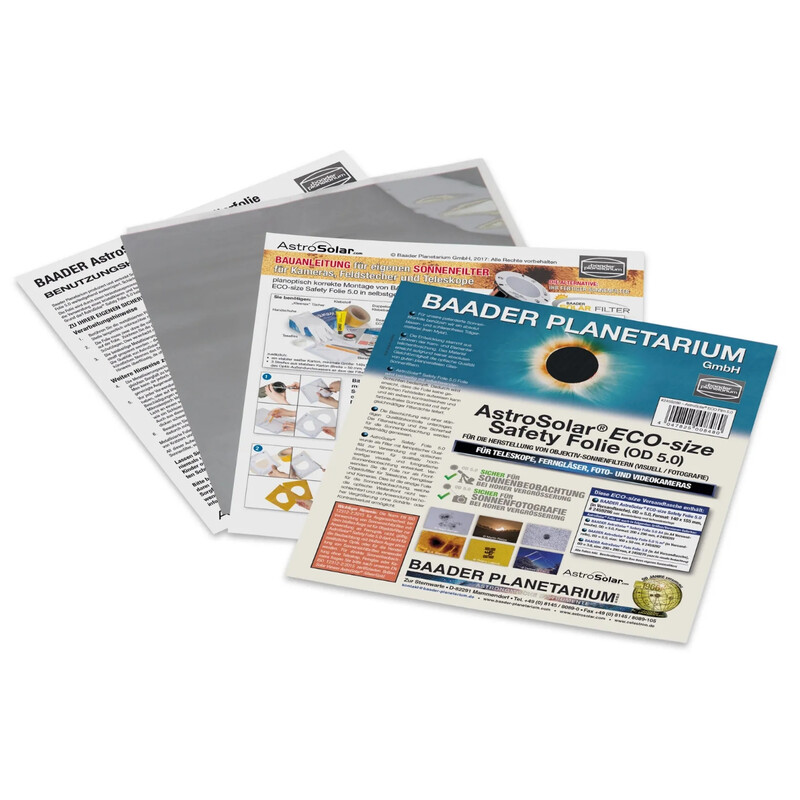
The film most of our readers buy: enough for one telescope filter up to about 130 mm of aperture or two binocular filters. Same OD 5.0 safety as the big sheet.
Price: € 25
Cutting filter film: your filter in 20 minutes
AstroSolar film looks like kitchen foil, but it’s a precision filter coated on both sides – so don’t crease it and don’t stretch it drum-tight. Slight ripples in the film are normal and don’t degrade the image.
Here’s how to turn it into an objective filter – all you need is cardboard, scissors and tape:
- Cut two cardboard rings with an inner diameter just larger than your telescope’s aperture.
- Sandwich the film loosely: lay the film on the first ring, place the second ring on top – the film may stay slightly wavy.
- Build the cell: wrap a cardboard strip around the tube and glue it to the rings to form a cap that sits snugly.
- Add a safety line: secure the cap to the tube with two strips of tape – a gust of wind must not be able to lift it off.
- Check before every session: hold the film up to a bright lamp – replace it if you see pinholes, scratches or tears.
Observing the Sun with a smart telescope
The new smart telescopes have radically simplified solar observing: the Seestar S50 ProSeestar S50 Pro, Seestar S30 ProSeestar S30 Pro and DWARF 3DWARF 3 all ship with a matching solar filter and slew to the Sun automatically in solar mode. Snap the filter on, pick the mode, and the image lands on your phone – there’s no easier way in.
Two things worth knowing: the app reminds you about the filter, but it can’t check that it’s actually on – attaching it before the scope slews to the Sun is on you. And the small sensor resolves spot groups roughly like a 60 mm beginner telescope – plenty for a start; our Seestar S30 Pro vs DWARF 3 comparison covers the differences.
Replacement & binocular filter: Omegon 50 mm solar filter (Seestar S50 & binoculars)
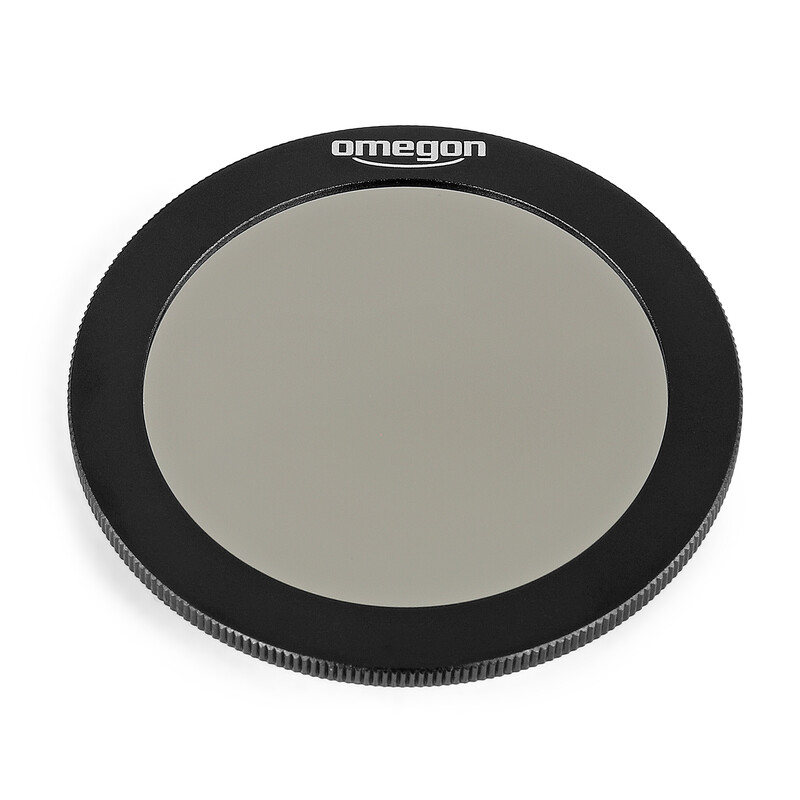
Ready-made snap-on solar filter for the ZWO Seestar S50 and 50 mm binoculars: click it on instead of cutting and taping film yourself.
Price: € 34.90
The safety rules at a glance
Solar observing is safe if you stick to a few fixed rules – every accident happens when one of them is ignored “just for a moment”:
- ✅ Filter always in front of the objective, never at the eyepiece – and only certified gear (ISO 12312-2 or OD 5.0).
- ✅ Check the filter before every session against a bright lamp for pinholes and tears.
- ✅ Attach the filter so that neither wind nor curious hands can remove it.
- ✅ Cover or filter the finderscope – aim using the shortest-shadow method.
- ⚠️ Never leave children unattended at the scope – the look “without” is most tempting for them.
- ⚠️ Bin old screw-in eyepiece sun filters from vintage telescope kits immediately – the heat cracks them.
- ⚠️ No household hacks: CDs, rescue blankets, smoked glass and sunglasses all pass invisible infrared.
And if you’re wondering what it’s all for: during the partial solar eclipse of August 12, 2026, hundreds of thousands of people used exactly this equipment – the next chance comes on August 2, 2027, when a total eclipse crosses southern Spain and North Africa, partial elsewhere in Europe. If you observe sunspots until then, you’ll be well practiced on the big day.
Frequently asked questions about observing the Sun
Can I look through a telescope or binoculars while wearing eclipse glasses?
No, never. Eclipse glasses are built for the naked eye only. Behind optics, concentrated and amplified sunlight hits the small filter area – it overheats and can burn through while you’re looking. For optics, the filter always goes on the front of the objective.
Is a welder’s glass enough?
Only with the naked eye and only with shade 14 – the usual hardware-store glasses (shades 9 to 11) are too bright and dangerous. A welder’s glass never belongs in front of a telescope or binoculars. Certified eclipse glasses cost € 5 and show the Sun in neutral white instead of green.
What does OD 5.0 mean – and what is OD 3.8?
OD stands for optical density: OD 5.0 passes 1/100,000 of the light and is the standard for visual observing. OD 3.8 passes about 16 times more light and is meant for photography with short exposures only – too bright to look through. If you want both, take OD 5.0: solar photos work fine with it too.
How long does solar filter film last?
Stored dry and away from light, many years – Baader doesn’t give a fixed expiry date; condition is what counts. Check the film against a bright lamp before every session: visible pinholes, tears or flaking coating mean immediate replacement. A scratched filter isn’t a keepsake, it’s a hazard.
Can I photograph the Sun too?
Yes – the easiest way is a smartphone held to the eyepiece of a filtered telescope, or a smart telescope that delivers finished solar photos. Just one rule: the filter must also sit in front of the camera optics, or the sensor dies instead of your retina. For ambitious photographers, AstroSolar film also comes in a photo version (OD 3.8).
Do I need a special solar telescope?
No – any telescope becomes a solar telescope with a film filter. Dedicated H-alpha telescopes (from about € 800) additionally show prominences at the limb, but they’re specialist instruments for advanced observers. If you don’t own a telescope yet, our beginner’s guide shows which scopes work equally well for night and Sun.