By Alexander Merz · Updated on · Details checked on 7 October 2026
Photographing the Milky Way means capturing the bright band of our galaxy with a camera, a tripod and a fast wide-angle lens in 10 to 20 seconds, on a moonless night far from city lights. It is the classic way into astrophotography, because you don’t need a telescope for it.
⭐ In short: From Germany and similar latitudes, the bright core of the Milky Way is only really photographable from April to August, and even then it sits low in the south, just 7 to 13 degrees up depending on latitude. The camera you already own is fine for a start if it has a manual mode; what matters is a dark site, new moon and a clear view to the south. A phone in night mode gets you a souvenir shot, not a detailed image.
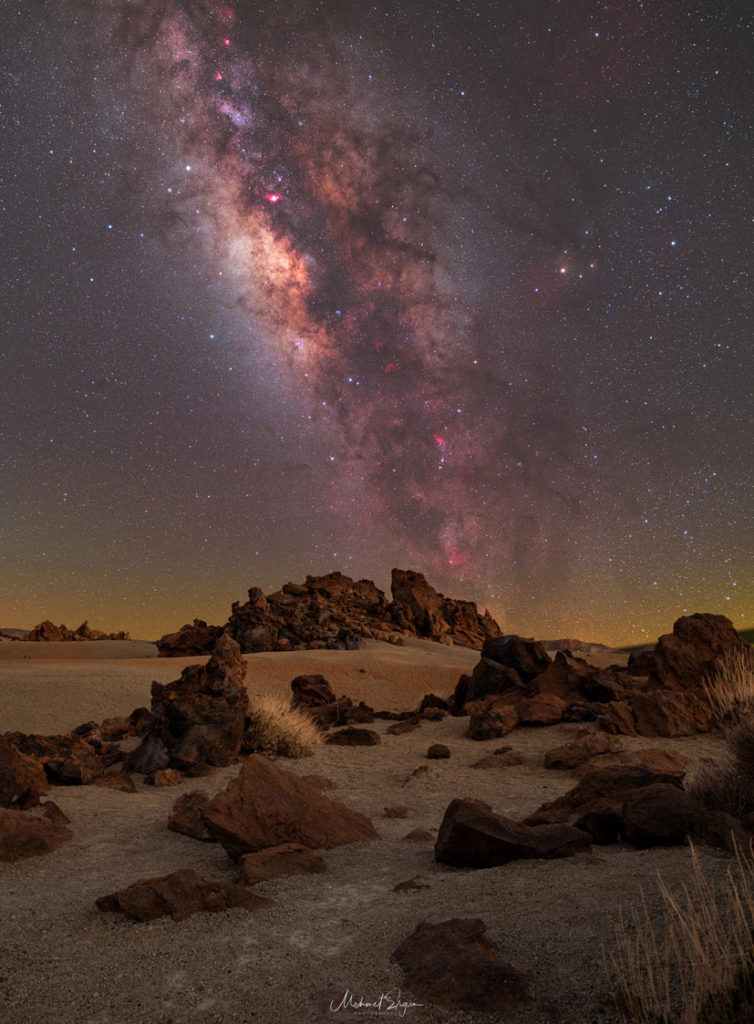
When can you photograph the Milky Way? The season in central Europe
You can see the band of the Milky Way under a dark sky all year round, but its bright galactic core in Sagittarius only in the summer half of the year. It lies so far south that it never climbs high from Germany: at most about 7 degrees in Hamburg, 11 degrees in Frankfurt and 13 degrees in Munich.
Then there is the Moon. Shoot on the nights around new moon, when no moonlight gets in the way. The table shows, for every new-moon night of 2027, when the core stands at least 5 degrees above the horizon in darkness as seen from Frankfurt.
| Month | New moon 2027 | Core visible | Max. altitude | Direction |
|---|---|---|---|---|
| October to February | Oct 29, Nov 28, Dec 27, Jan 7, Feb 6 | not at night | – | – |
| March | Mar 8 | 04:50–05:00 | 6° | southeast |
| April | Apr 7 | 03:50–04:45 | 9° | southeast to south |
| May | May 6 | ⭐ Best combination01:55–03:20 in full darkness | 10° | southeast to south |
| June | Jun 4 | 00:05–03:30* | 11° | southeast to south |
| July | Jul 4 | 23:25–02:40* | 11° | south to southwest |
| August | Aug 2 and Aug 31 | 23:45–00:45 or 22:15–22:50 | 9° or 8° | south to southwest |
| September | Sep 30 | only briefly around 21:00 | 5° | southwest |
The times move about half an hour earlier every week, because the stars rise four minutes earlier each day. A week before or after new moon you can work with slightly shifted times, as long as the Moon is still below the horizon.
In northern Germany the core remains a borderline case. In Hamburg it never gets above 5 degrees in true darkness, only reaching just over 7 degrees in the bright twilight of June and July. Further south it gets easier: in Munich it reaches up to 13 degrees in May, and in April the window already runs from 03:20 to 04:45.
Tip for autumn and winter: From September to November the bright summer part of the Milky Way with Cygnus and Aquila stands almost straight overhead in the evening – a rewarding subject with no horizon problem. In winter the fainter band runs through Cassiopeia, Perseus and Auriga. You’ll find the next moon-free dates under new moon.
Where is the best place to photograph the Milky Way?
Location matters more than the camera. According to the World Atlas of Artificial Night Sky Brightness (Falchi and colleagues, 2016), about 60 percent of Europeans can no longer see the Milky Way from home. The light dome of a city still interferes from dozens of kilometers away, precisely in the direction where the city lies.
So use a light pollution map to find a spot with Bortle class 4 or darker, ideally with no town to the south. The background is explained in our article on light pollution.
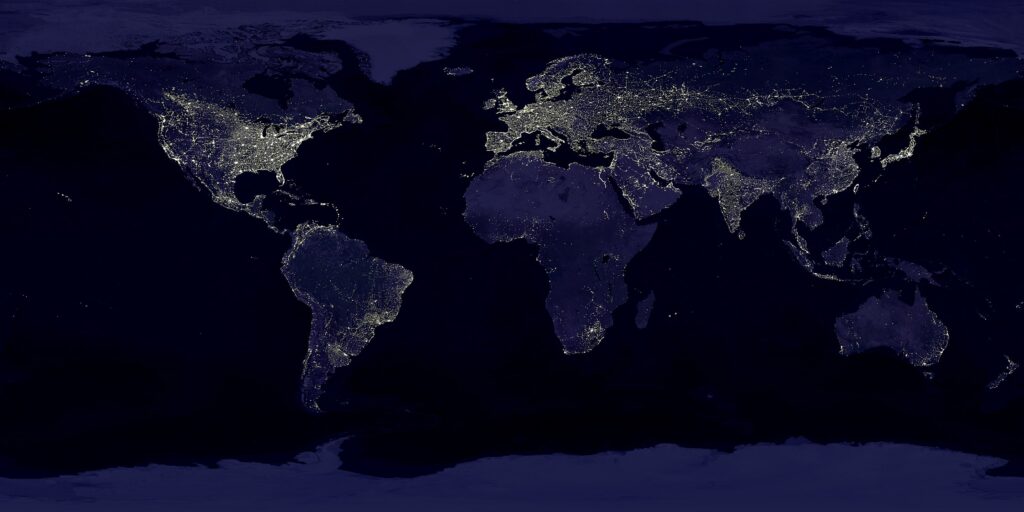
A clear view to the south almost down to the horizon is essential, because the core stands only a few degrees high. A forest edge, a hill or haze near the horizon will hide it completely. Hilltops, lake shores or fields facing south make good locations.
Planning: apps for the Milky Way, Moon and weather
Without planning you’ll be in the wrong place at the wrong time. A planetarium app shows you where the Milky Way stands at your chosen time, above your real location. Stellarium is free and very accurate; PhotoPills and PlanIt Pro even overlay the Milky Way on the camera view and calculate the frame for your lens.
Check the weather in a model that shows cloud layers, not in your usual weather app: thin high cirrus is barely visible at night but ruins the contrast. Also watch the wind, because gusts of around 30 km/h (about 20 mph) already make a light tripod shake.
Read next: Which sky app does what and what it costs is compared in our astronomy app guide.
Which camera should you use for the Milky Way?
Any camera that lets you set aperture, shutter speed and ISO yourself will work. A larger sensor makes life easier: full frame shows less noise at high ISO than APS-C, and APS-C less than Micro Four Thirds (MFT). Even older models such as the Canon EOS 6D still deliver excellent Milky Way shots.
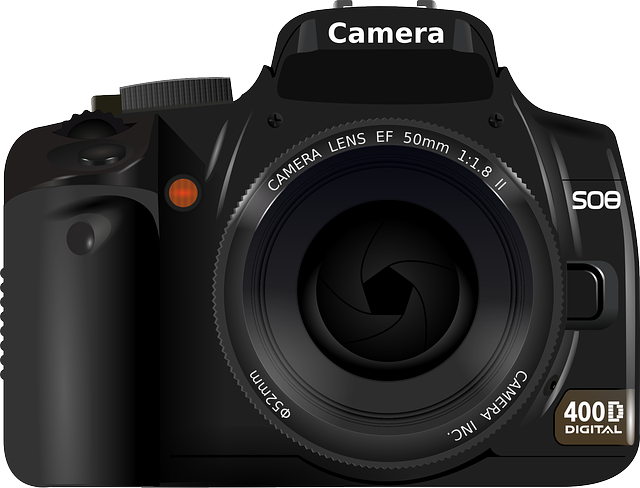
You don’t need a cooled astronomy camera for this. It only pays off at the telescope for nebulae and galaxies, and it is impractical for landscape images because it needs a laptop.
Photographing the Milky Way with a phone: what is realistic
Recent smartphones with a night or astro mode expose for several minutes on a tripod and merge many frames automatically. Under a truly dark sky the Milky Way becomes clearly visible; on the German forum astronomie.de users even show bright star clusters captured this way. The small sensor remains the limit, though: fine structure and a clean foreground are hardly possible.
What you need is a phone tripod, focus set to infinity and surroundings without street lights. How the night modes of iPhone, Pixel and Samsung work is explained in our guide to smartphone astrophotography. That’s enough for a souvenir shot, not for a poster.
What about smart telescopes?
Smart telescopes are the wrong tool for the band of the Milky Way. A Seestar S50 sees about 1.3 × 0.7 degrees of sky, while the Milky Way stretches across dozens of degrees. Where they shine is the nebulae within the Milky Way, such as the Lagoon Nebula in Sagittarius – more on that under smart telescope.
Lightest for travel: DWARFLAB DWARF mini Smart Telescope
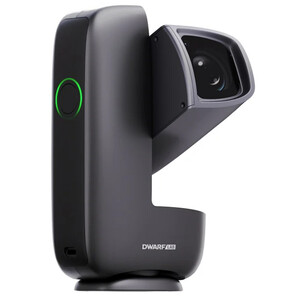
Just 840 g: the lightest smart telescope. Bigger pixels, 90-second exposures – but Full HD instead of 4K.
Price: € 429
Best value: ZWO Seestar S30 Pro Smart Telescope

ZWO's benchmark smart telescope: a polished app, mosaic mode and stunning results in minutes.
Price: € 699
Which lenses work best for the Milky Way?
Ideal is a wide-angle lens of 14 to 24 mm (full frame) or 10 to 16 mm (APS-C) at f/2.8 or faster. The aperture is the lens opening: the smaller the number, the more light in the same time. Extremely fast f/1.4 lenses are expensive and wide open often show distorted stars at the edges.
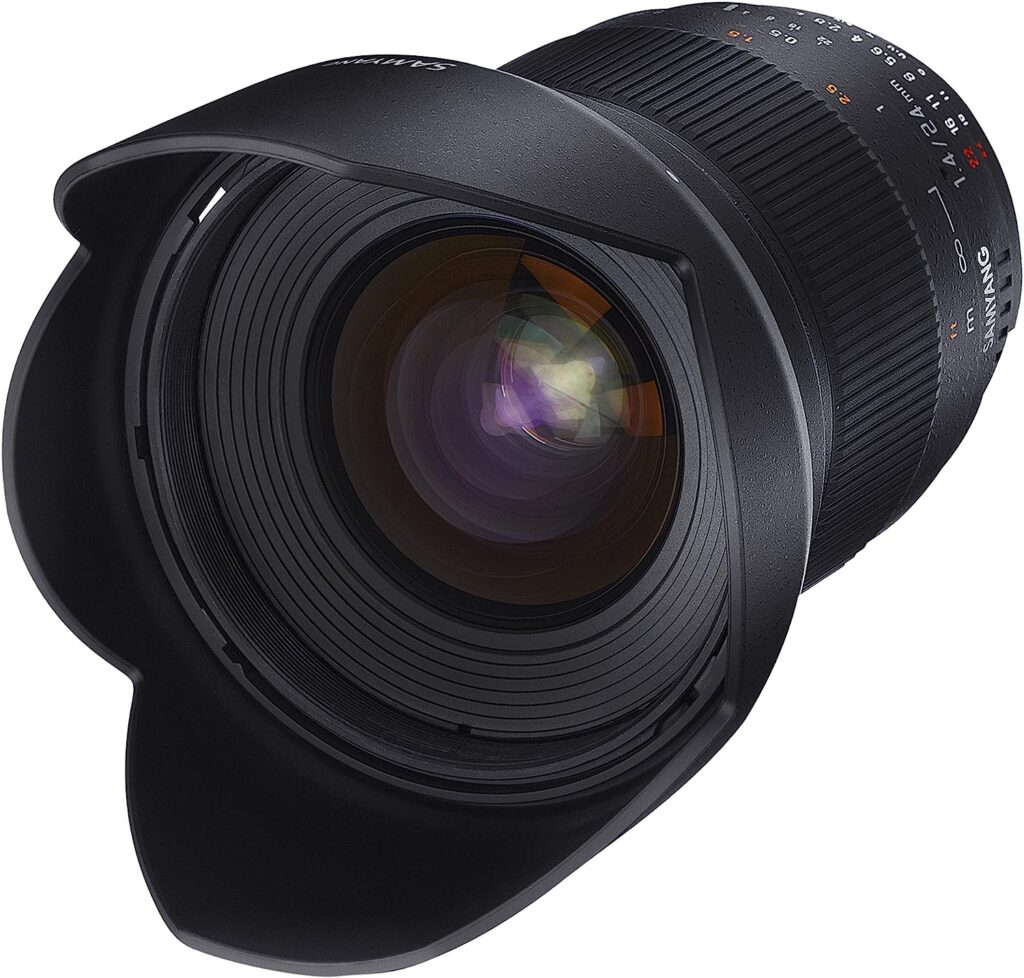
With the kit lens (usually 18–55 mm, f/3.5–5.6) a first Milky Way photo is possible if you set it to 18 mm and open the aperture fully. On the German astronomie.de forum, experienced photographers still advise buying a used 14 mm f/2.8 prime rather than struggling with a slow zoom for long. Going from f/3.5 to f/2.8 alone gives you over half as much light again in the same time.
Longer focal lengths need a tracker and only show a section, such as the star clouds in Sagittarius. If you want the nebulae in the Milky Way in detail, you’ll eventually move to a small astro telescope; we tested two entry-level instruments: Askar SQA55 and William Optics RedCat 51.
Exposure time: the 500 rule and the NPF rule compared
Because the Earth rotates, stars turn into trails if the exposure is too long. The 500 rule divides 500 by the focal length (multiplied by 1.5 for APS-C) and gives the longest time in seconds. It dates from the film era and is too generous for today’s sensors with small pixels.
The NPF rule is more accurate, because it includes aperture and pixel size: (35 × f-number + 30 × pixel pitch in µm) divided by the focal length. The table shows both values for typical lenses on a 24-megapixel camera.
| Lens | 500 full frame | NPF full frame | 500 APS-C | NPF APS-C |
|---|---|---|---|---|
| 14 mm f/2.8 | 36 s | 20 s | 24 s | 15 s |
| 20 mm f/1.8 | 25 s | 12 s | 17 s | 9 s |
| 24 mm f/1.4 | 21 s | 9 s | 14 s | 7 s |
| 24 mm f/2.8 | 21 s | 12 s | 14 s | 9 s |
| 35 mm f/1.8 | 14 s | 7 s | 10 s | 5 s |
In practice, anything between the two values works. On a phone screen the 500-rule times look sharp, but at 100 percent view the stars at the edge already show short trails. If you plan large prints, stick to the NPF time and take more frames instead.
Camera settings for Milky Way photography
- Mode M (manual) and RAW as the file format.
- Image stabilization off as soon as the camera is on the tripod, plus shutter delay or a remote release.
- Open the aperture fully (f/2.8 or faster); with very fast lenses stop down one step against edge aberrations.
- Focus manually: autofocus off, zoom in on a bright star in live view at maximum magnification and turn until it is at its smallest.
- Exposure time from the table above, usually 10 to 20 seconds.
- ISO 1600 to 3200 to start with, up to 6400 with full frame under a dark sky.
- Fixed white balance of about 3,900 to 4,000 kelvin, so every frame in a series looks the same.
- Take a test shot, zoom in, check focus – and recheck as the temperature drops during the night.
- Shoot a series: 10 to 20 frames in a row so you can stack them later.
Other useful gear for Milky Way photography
Nothing works without a tripod
Without a sturdy tripod nothing works, because any vibration during a 15-second exposure blurs the stars. Keep the center column down, and in wind hang your bag from the hook underneath.
A remote shutter release
A remote release prevents shake when you press the button. A cheaper alternative is the self-timer with a two-second delay or the manufacturer’s app on your phone.
A lens heater against dew
On clear summer nights the front element often fogs up within an hour. A heater strip around the lens, powered by a power bank, keeps it above the dew point. Without one you often notice the dew only at home, when all the late frames look milky.
Headlamp and warm clothing
A photo night lasts longer than you think, and even in July it gets cold at night. Warm clothes and a hot drink keep your fingers nimble for the fine adjustments.
A headlamp with red light protects your dark adaptation. We use the Celestron Night Vision Red HeadlampOmegon LED Headlamp (red/white) for $20.95€ 14.90 – it switches between red and white. The dark adaptation you built up over twenty minutes is gone with one glance into a white beam.
Filters
A light pollution filter dampens the yellow light of sodium lamps. Against white LED lighting it hardly helps, so a darker site is almost always the better investment.
Tracking: the point where your images change
From a fixed tripod you are bound to the times in the table – at 24 mm that’s roughly 10 to 20 seconds. Any extra image quality has to come from ISO, and you pay for ISO with noise.
A small tracker removes exactly this limit. It turns the camera at the same speed as the sky, and 20 seconds become two or three minutes at low ISO. The same site and the same lens give a visibly cleaner image.
The entry point is mechanical and needs no power: the Omegon MiniTrack LX3 Mount for $199€ 199 is wound up like clockwork and runs for an hour. If you want Wi-Fi, autoguiding and later a small telescope on it, start with the Sky-Watcher Star Adventurer 2i Pro PackSky-Watcher Star Adventurer 2i Wi-Fi Photo Set for $585.00€ 436.
One thing to know: as soon as the camera follows the sky, the landscape blurs. For images with a foreground you therefore take two exposures – one tracked for the sky, one from the stationary tripod for the ground – and blend them in processing.
Post-processing tips
A single Milky Way frame is noisy. Only stacking several frames makes it smooth: the software aligns the images on top of each other and averages out the noise.
- Stacking: load 10 to 20 RAW frames into Sequator (Windows, free) or Starry Landscape Stacker (Mac). Both separate sky and foreground so the landscape doesn’t smear.
- White balance: set the sky background to neutral grey or slightly blue; the Milky Way itself may stay warm.
- Contrast: use a curve to darken the background slightly and lift the Milky Way without blowing out bright stars.
- Saturation: increase carefully by 10 to 30 percent, otherwise the colors look artificial.
- Noise and sharpness: apply noise reduction sparingly and sharpen only the Milky Way, not the dark sky.
Frequently asked questions
When is the best time to photograph the Milky Way?
In Germany and similar latitudes, from April to August on the nights around new moon. In May and June the core is best placed after midnight, in July and August already before midnight. Outside these months you still have the fainter band across Cygnus, Cassiopeia and Perseus.
Can I photograph the Milky Way with my phone?
Yes, with a recent smartphone in night or astro mode on a tripod and under a dark sky. The band becomes visible, but fine detail and a clean foreground remain the domain of a camera with a large sensor.
Can I photograph the Milky Way tonight?
That depends on three things: the Moon must be below the horizon, the sky must be clear, and for the bright core it has to be between April and August. Any planetarium app shows you the Moon and the Milky Way for your location and the current time.
Which app helps you plan Milky Way photos?
Stellarium is free and shows the Milky Way for any time. PhotoPills and PlanIt Pro cost money, but overlay it on the camera view and plan the frame with your lens.
Why does the Milky Way look brighter in photos than to the naked eye?
The camera collects light for 15 seconds, your eye only for a fraction of a second. On top of that, the eye barely sees color at night. That’s why even a single photo shows structures you can only guess at on site – more about our galaxy itself under Milky Way.
* Affiliate link: if you buy through this link we may earn a small commission from Astroshop or High Point Scientific, at no extra cost to you.