By Alexander Merz · Updated on · Details checked on 1 October 2026
Photographing a solar eclipse means capturing the Sun as the Moon takes a bite out of it – with a phone, a camera or a telescope. The only safe way to do it is with an OD 5.0 solar filter in front of the optics, which blocks 99.999 % of the light. It is one of the most rewarding first projects in astrophotography, and the next opportunity comes on 2 August 2027.
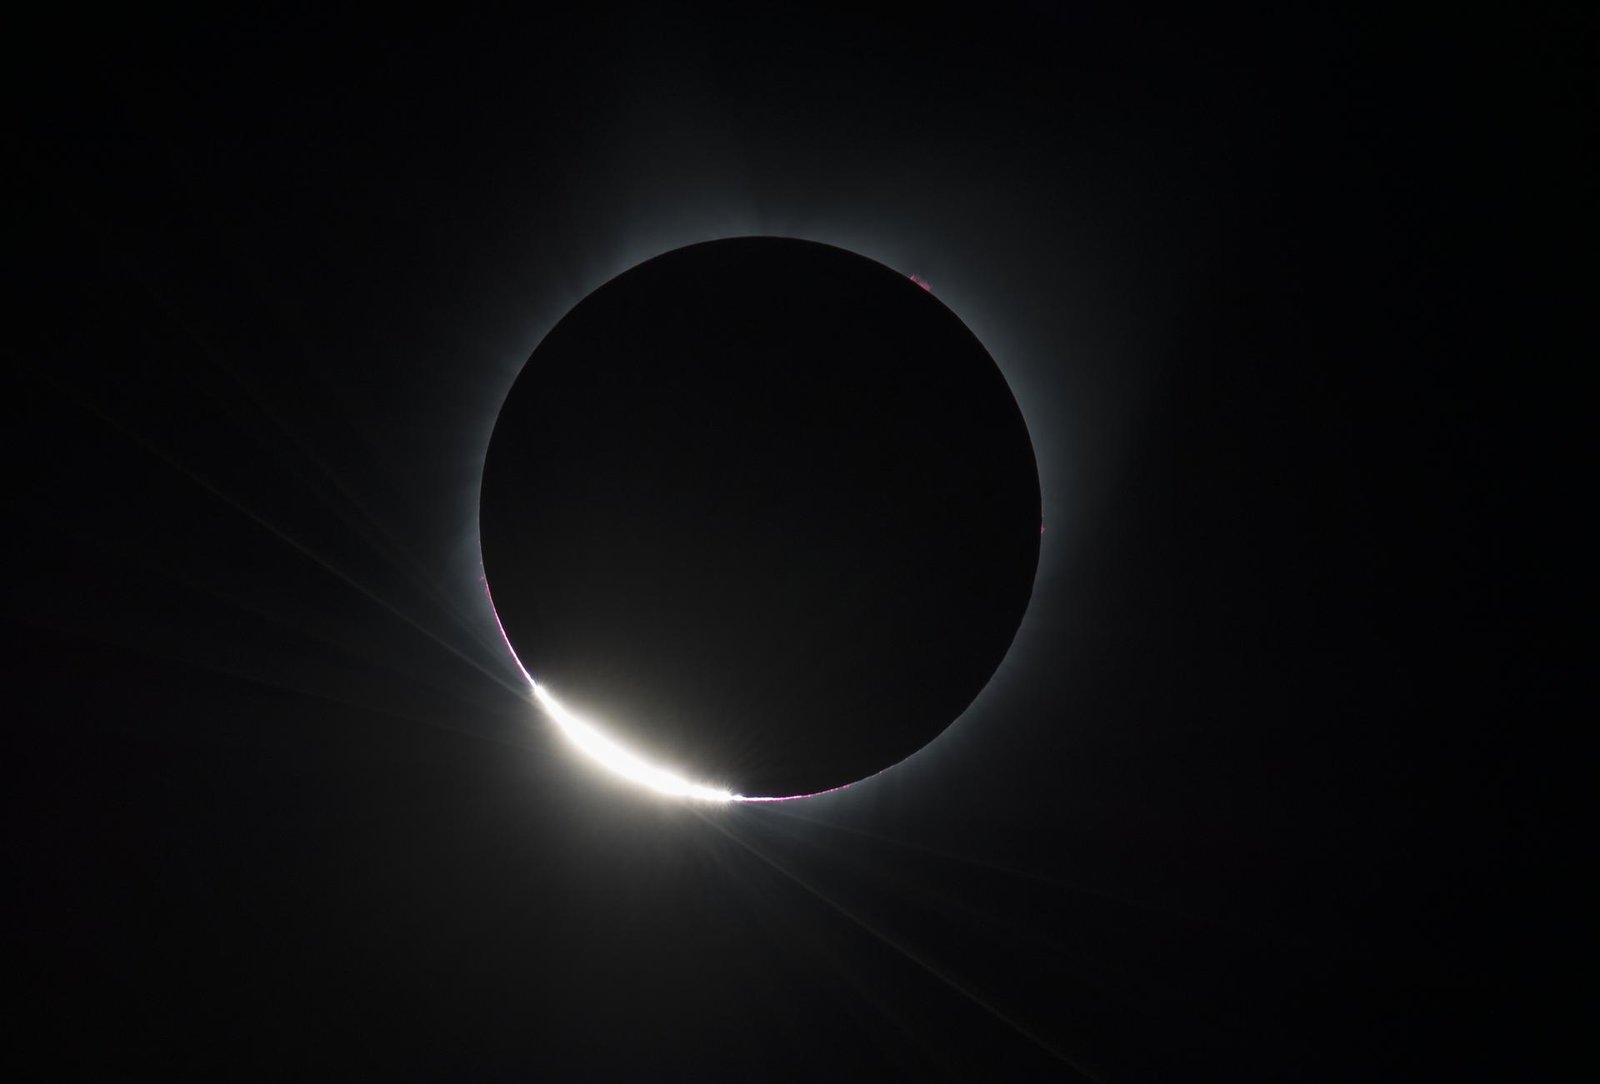
Photographing a solar eclipse with a filter: what really protects you
The same rule applies to the camera as to your eyes: the filter goes in front of the lens, never behind it. That way it dims the light before the lens concentrates it. A solar filter film with OD 5.0 lets through one hundred-thousandth of the light – dark enough for your eye at the viewfinder and bright enough for short exposure times.
A neutral density filter from a camera shop is not a solar filter. An ND1000 blocks ten stops, a solar filter with OD 5.0 around 16.6 – so the ND1000 lets through roughly a hundred times more light, and how much infrared it passes has never been tested. Stacking several ND filters is no solution either: it creates reflections and rainbow-coloured flares.
Shade 14 welder’s glass is fine for looking, but poor for photography. The American Astronomical Society (AAS) considers shade 12 and darker safe, and 13 to 14 comfortable. For photos, these glasses are of little use: the image turns green, and the thick, rarely perfectly flat panes make it soft on a telephoto lens.
| Filter | For looking | For photography | Verdict |
|---|---|---|---|
| Solar filter film OD 5.0 (e.g. Baader AstroSolar) | yes, in front of the optics | yes | ⭐ the standard for everything |
| Photo film OD 3.8 | no, never | yes, shorter exposures | only for experienced users with live view |
| Glass solar filter ND 100000 | only if expressly approved for it | yes | robust, but more expensive |
| Eclipse glasses to ISO 12312-2 | yes, naked eye | emergency solution in front of a phone | never behind an optical instrument |
| Welder’s glass shade 13–14 | yes, naked eye | hardly | green, soft image |
| ND1000 or stacked ND filters | no | no | ❌ not safe |
| Sunglasses, CDs, emergency blankets, smoked glass | no | no | ❌ dangerous |
For almost every reader, AstroSolar film with OD 5.0 is the best choice, because it covers both looking and photographing. From one large sheet you can cut filters for a telephoto lens, a phone and binoculars at the same time. For a single lens with a front diameter of up to about 130 mm, the smaller Baader Planetarium Visual AstroSolar Safety Film - ECO-Size - 5.5" x 6.1" SheetBaader AstroSolar ECO-size Safety Film OD 5.0 (14x15.5 cm) is enough.
Our pick: Baader AstroSolar Safety Film OD 5.0
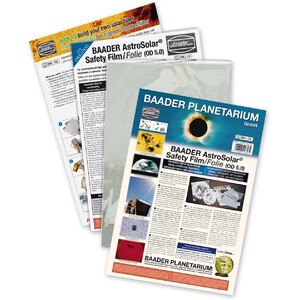
One sheet is enough for a filter in front of your telephoto lens plus your phone and binoculars. With OD 5.0 you can also look through the viewfinder – the safe all-round solution for the eclipse.
Price: € 40
How to turn the film into a lens cap in 20 minutes is shown in our guide to observing the Sun. For a telephoto lens there is one extra condition: the cap must sit firmly, yet come off with a single movement. Anyone travelling to the path of totality loses precious seconds with a screw-in filter – the AAS advises against it, too.
Photographing a solar eclipse with your phone: how to do it safely
With a phone you’ll get a nice souvenir photo, but not a large solar crescent. Even the telephoto module shows the Sun only small – it’s simply a question of focal length. It only gets bigger when you hold the phone behind the eyepiece of filtered binoculars or a filtered telescope.
| Phone camera | Focal length (full-frame equivalent) | Sun in the frame | Good for |
|---|---|---|---|
| Main camera 1× | around 24 mm | about 1 % of the frame height | landscape, time-lapse |
| Tele 3× | around 75 mm | about 3 % | small crescent |
| Tele 5× | around 120 mm | about 5 % | recognisable crescent |
| Tele 10× (some Android models) | around 230 mm | about 9 % | best phone crescent |
| Phone at the eyepiece of a filtered telescope | depends on the telescope | up to frame-filling | sunspots, lunar limb |
Sun size calculated with the rule of thumb focal length ÷ 109 (see below), based on a 24 mm frame height in full-frame format.
Can the Sun damage your phone’s sensor?
A quick snapshot with the main camera generally won’t harm your phone – but that is no free pass. NASA explicitly points out that a phone sensor, like any image sensor, can be damaged if it points straight at the Sun, especially with add-on lenses. The risk rises with the telephoto module, zoom attachments and filming for minutes on end, because more concentrated light then falls on the same pixels.
Without a filter you’ll only see a white blob in the photo anyway. The crescent is blown out, and the automatic mode can’t cope with the contrast. So the filter isn’t just protection – it’s what makes it possible to get an eclipse into the picture at all.
Is it safe to watch the solar eclipse through your phone?
Looking at the screen is harmless for your eyes – it isn’t any brighter than usual. The danger lurks right next to it: while aiming the phone, it’s easy to glance over the edge straight into the Sun. That’s why your eclipse glasses belong on your nose as long as you’re handling the phone.
Without a filter the screen shows only a blown-out blob, with a filter a small crescent. For watching the eclipse, the glasses are therefore the better tool – the phone is there for the photo.
A must for looking: Omegon Solar Eclipse Glasses Solar Safe
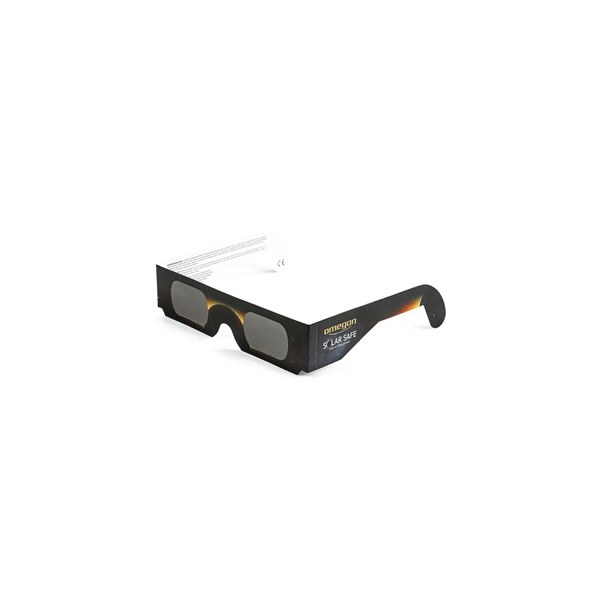
Tested to ISO 12312-2 for viewing with the naked eye – and the simplest safeguard while you aim your camera or phone.
Price: € 5
The filter in front of your phone: cover all the lenses
The film must cover all of the camera lenses, not just the one you’re currently using. Many phones switch camera modules on their own depending on zoom level and light – and suddenly an unfiltered lens is looking at the Sun. The easiest way is to tape a piece of film behind a cardboard cut-out that covers the whole camera bump, and fix it with painter’s tape.
As an emergency solution, one lens of a pair of eclipse glasses held in front of the camera will do – NASA recommends this too. For steady series, a firmly taped-on film filter is better, because otherwise your hand shakes and stray light gets in from the side.
The right phone settings
- Tripod instead of handheld: put the phone holder on a tripod and trigger with the self-timer or the headphone button.
- Choose an optical tele setting (2×, 3×, 5×) and avoid digital zoom beyond it – it only enlarges pixels.
- Lock focus and exposure: press and hold on the Sun until the lock appears.
- Pull the exposure down until the crescent has a clean edge.
- Pro or expert mode: lowest ISO, focus manually set to infinity, shutter speed short enough that the crescent isn’t blown out.
- Save RAW if your phone can – it gives you more latitude when editing.
The basics of using a phone camera on the sky are the same as at night. How to get exposure and focus under control with the Moon and stars is explained in our guide to smartphone astrophotography.
Photographing a solar eclipse with an iPhone
On an iPhone you lock focus and exposure by pressing and holding on the Sun until “AE/AF Lock” appears. Then drag the small sun slider next to the focus box downwards until the crescent is cleanly defined. Use the highest optical tele setting on your model and don’t zoom any further.
On the Pro models ProRAW is worth it, because it gives you more latitude when editing. If you want to choose shutter speed and ISO yourself, you’ll need a camera app with a manual mode.
Filming a solar eclipse with your phone
For a video of the whole eclipse, time-lapse is better than continuous filming. Time-lapse mode only takes a frame at intervals, saves battery and storage, and shows the Moon’s roughly two-hour journey in seconds. Lock focus and exposure here too, otherwise the brightness will pump.
Mind the heat: a phone in the August sun quickly shuts down from overheating. A light-coloured cloth or an umbrella over the phone helps, and so does a power bank.
Gear by budget: from phone to smart telescope
What matters is not the most expensive camera, but the focal length and a safe filter. An older DSLR with a telephoto zoom delivers a sharper crescent than the latest phone. The table shows the four common approaches.
| Approach | What you need | Sun in the frame | Who it’s for |
|---|---|---|---|
| Phone + film | phone, tripod holder, Baader Planetarium Visual AstroSolar Safety Film - ECO-Size - 5.5" x 6.1" SheetBaader AstroSolar ECO-size Safety Film OD 5.0 (14x15.5 cm) | small (1–9 % of the frame height) | souvenir photo, time-lapse, landscape |
| Bridge or system camera + telephoto | 300–600 mm (full-frame), sturdy tripod, Baader AstroSolar Visual Film OD 5.0 (Sheet)Baader AstroSolar Safety Film OD 5.0 | about 10–35 % | sharp crescent, series, corona |
| Camera + telephoto + tracking mount | additionally Sky-Watcher Star Adventurer 2i Pro PackSky-Watcher Star Adventurer 2i Wi-Fi Photo Set | as above, stays centred | interval series without readjusting |
| Smart telescope | ZWO Seestar S30 Pro All-In-One Smart TelescopeZWO Seestar S30 Pro Smart Telescope or ZWO Seestar S50 Pro All-In-One Smart TelescopeZWO Seestar S50 Pro Smart Telescope with solar filter | about a quarter to a third | easiest approach, the app controls everything |
Links marked with an asterisk are partner links.
Smart telescope: the easiest approach
A smart telescope finds the Sun via the app, tracks it and sends the images to your phone. According to the manufacturer, the ZWO Seestar S50 Pro All-In-One Smart TelescopeZWO Seestar S50 Pro Smart Telescope comes with a magnetic solar filter; for the ZWO Seestar S30 Pro All-In-One Smart TelescopeZWO Seestar S30 Pro Smart Telescope, reviews list the filter as included, while the manufacturer also sells it as an accessory – check when buying whether it’s in the box. For the older Seestar S50 and 50 mm binoculars there is the ready-mounted ZWO Silver Black Polymer Solar Filter for Seestar 50Omegon 50 mm solar filter (Seestar S50 & binoculars).
ZWO itself warns that the main camera can be permanently damaged without a filter. The app reminds you about the filter, but it can’t check it. So put it on before the device slews towards the Sun.
Camera with a tracking mount
Without tracking, the Sun moves on by its own diameter in about two minutes. At 600 mm focal length you therefore have to readjust every few shots. A small travel mount such as the Sky-Watcher Star Adventurer 2i Pro PackSky-Watcher Star Adventurer 2i Wi-Fi Photo Set with a solar tracking rate keeps it in the centre of the frame for hours if you roughly align it to the north.
Focal length and Sun size: how big the Sun will be in your photo
The rule of thumb is simple: the Sun’s diameter on the sensor equals the focal length divided by 109. At 500 mm that gives 4.6 mm, at 1,000 mm just over 9 mm – whether camera or telescope. That’s also what NASA eclipse expert Fred Espenak gives in his photography notes.
| Focal length | Sun on the sensor | Share of frame height, full frame | Share of frame height, APS-C | Good for |
|---|---|---|---|---|
| 200 mm | 1.8 mm | 8 % | 12 % | landscape with Sun, series |
| 400 mm | 3.7 mm | 15 % | 24 % | crescent and the whole corona |
| 600 mm | 5.5 mm | 23 % | 35 % | large crescent, inner corona |
| 1,000 mm | 9.2 mm | 38 % | 59 % | sunspots, Baily’s beads – corona too large |
Calculated with focal length ÷ 109 (NASA/Espenak), frame height 24 mm (full frame) or 15.6 mm (APS-C).
For the partial phase the Sun can be large, for the corona it can’t. The corona extends several solar radii outwards; for its core to fit in the frame, the solar disc should fill at most a fifth to a quarter of the frame height. On full frame, 400 to 600 mm is therefore the best compromise; on APS-C, because of the smaller sensor, 300 to 400 mm.
Photographing a solar eclipse with a camera: settings for the partial phase
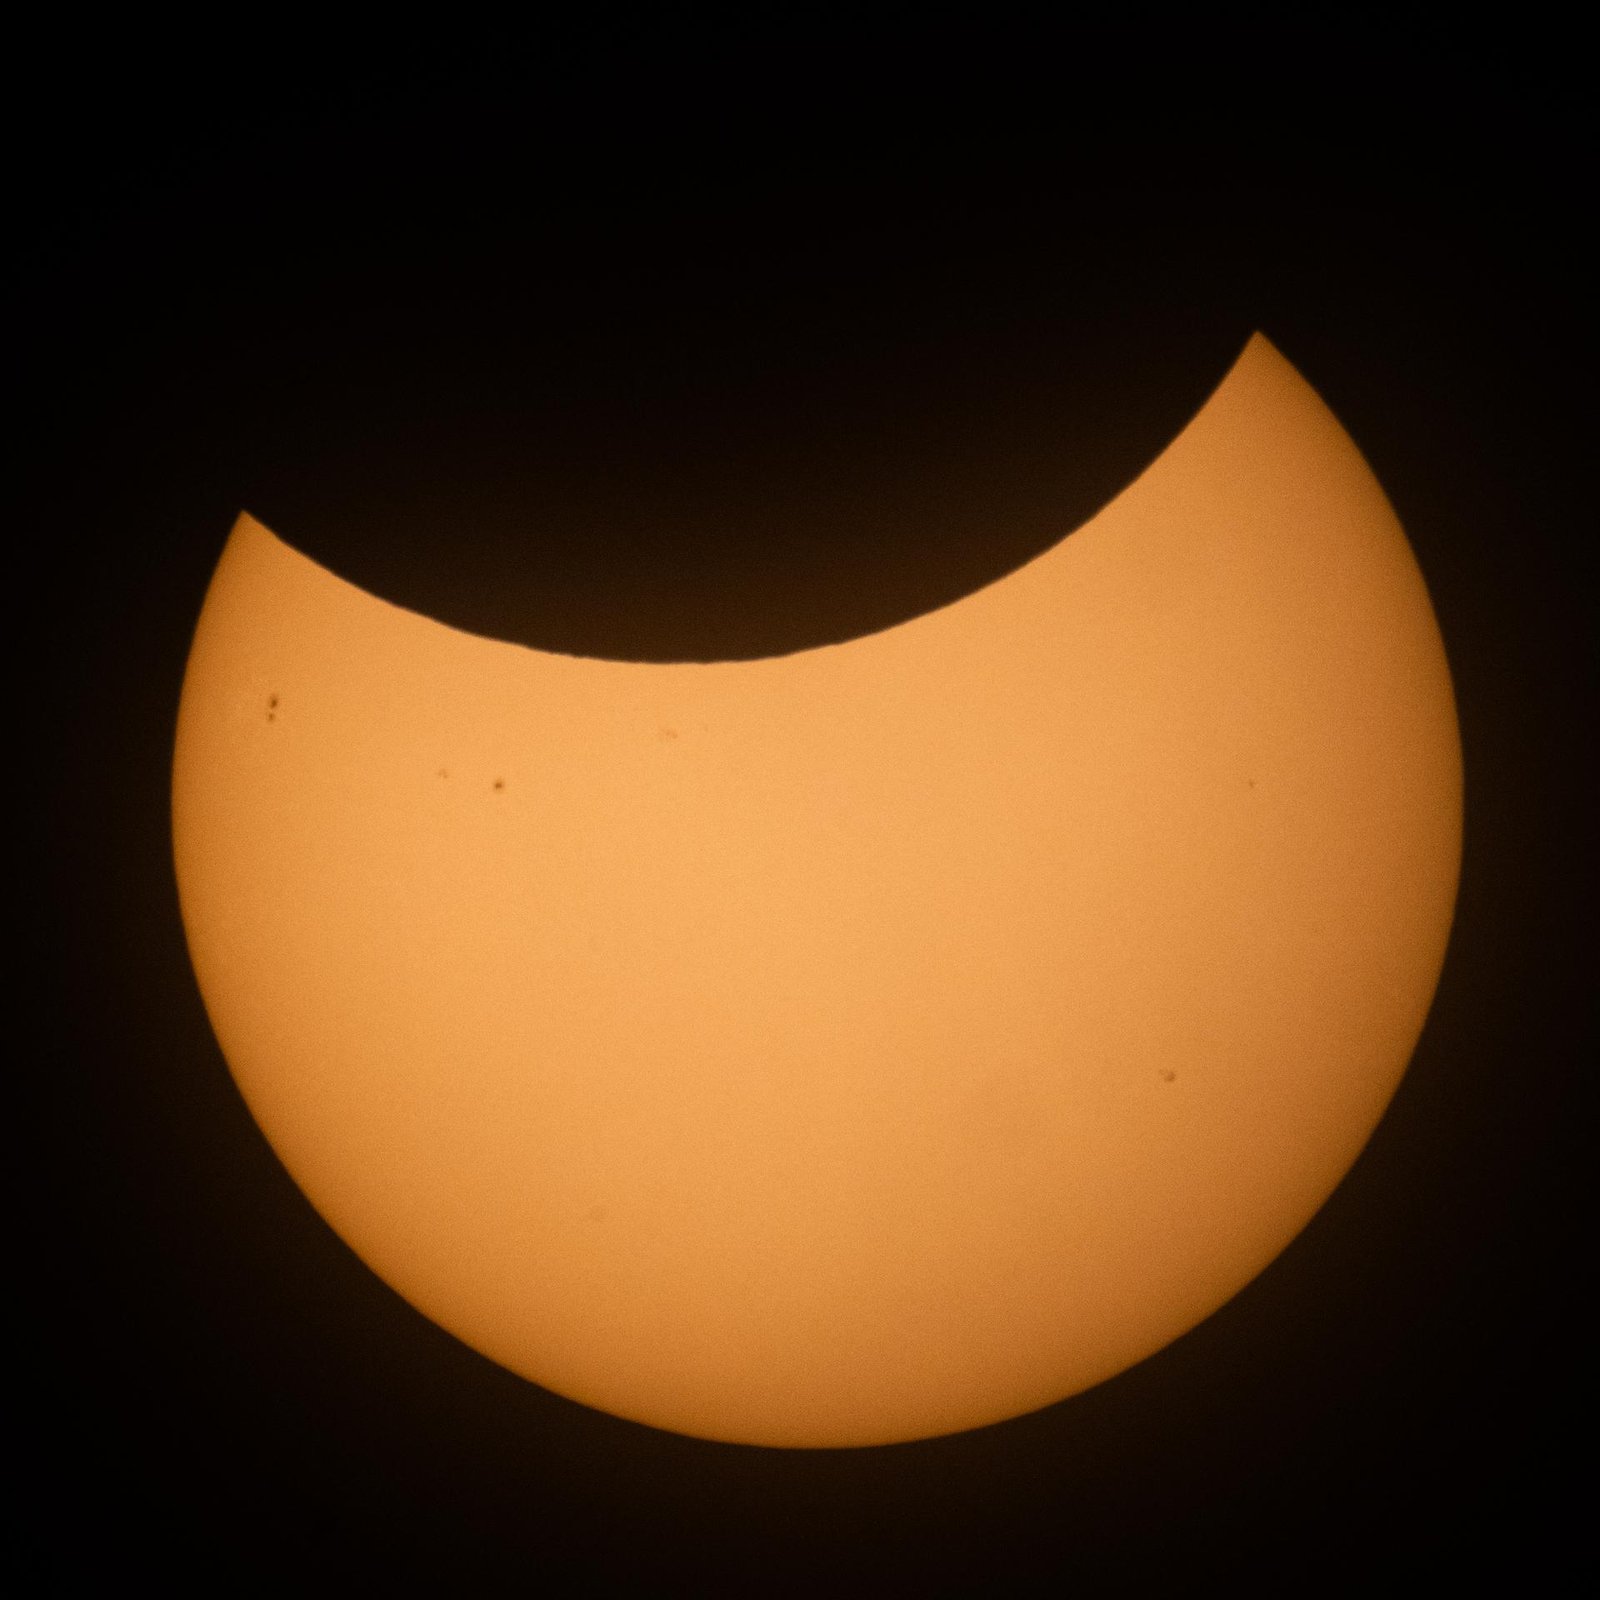
Set everything manually, because the automatic mode meters the dark sky as well and overexposes the Sun. ISO 100, aperture f/8 and a short shutter speed have proven themselves; with OD 5 film, Fred Espenak’s exposure table gives 1/500 s. Users of a German astronomy forum, working with the same basic values, landed between 1/250 and 1/1000 s on 12 August 2026.
Focus manually in live view on the edge of the Sun or a sunspot, strongly magnified with the zoom function. Once the focus is right, tape the focus ring in place with painter’s tape. This setting also applies to totality – there’s no time to readjust then.
Save RAW and trigger with a remote release or the 2-second timer. At long focal lengths, even the pressure of your finger causes blur. Cover the camera between shots, because the black body heats up a lot in the sun.
| Phase / subject | Filter | Time at ISO 100, f/8 | Note |
|---|---|---|---|
| Partial phase | OD 5.0 on | 1/500 s | in practice 2026: 1/250–1/1000 s |
| Baily’s beads | off, path of totality only | 1/4000 s | extremely bright, changes within seconds |
| Chromosphere | off | 1/2000 s | pink fringe at the Moon’s edge |
| Prominences | off | 1/1000 s | red arcs at the edge |
| Inner corona | off | 1/250 s | |
| Diamond ring | off | 1/60 s | also middle corona |
| Corona out to 1 solar radius | off | 1/15–1/4 s | tripod essential |
| Outer corona | off | 1/2–4 s | only worthwhile with a dark sky |
Source: Fred Espenak, Solar Eclipse Exposure Guide (NASA); practical values from forum.astronomie.de. Different ISO or aperture: halve or double the time per stop. The values without a filter apply exclusively during totality.
Photographing totality: corona, Baily’s beads and diamond ring
In 2027 there is no totality in the UK, Germany, France or Italy – only in a narrow strip across southern Spain and North Africa. In southern Spain it lasts up to a good four and a half minutes depending on the location; exactly where is on our page about the solar eclipse of 2 August 2027. If you stay at home, the filter stays on the whole time.
The filter only comes off once the Sun is completely covered – at second contact (C2). Shortly before third contact (C3), the first beads of light flash up again at the Moon’s edge, followed by the diamond ring. As soon as the Sun returns, filter and glasses go straight back on.
Your camera can handle the seconds of Baily’s beads without a filter – your eyes can’t. In those moments look only at the screen, never through the optical viewfinder. NASA is clear on this: you may only look without protection while the Sun is completely covered.
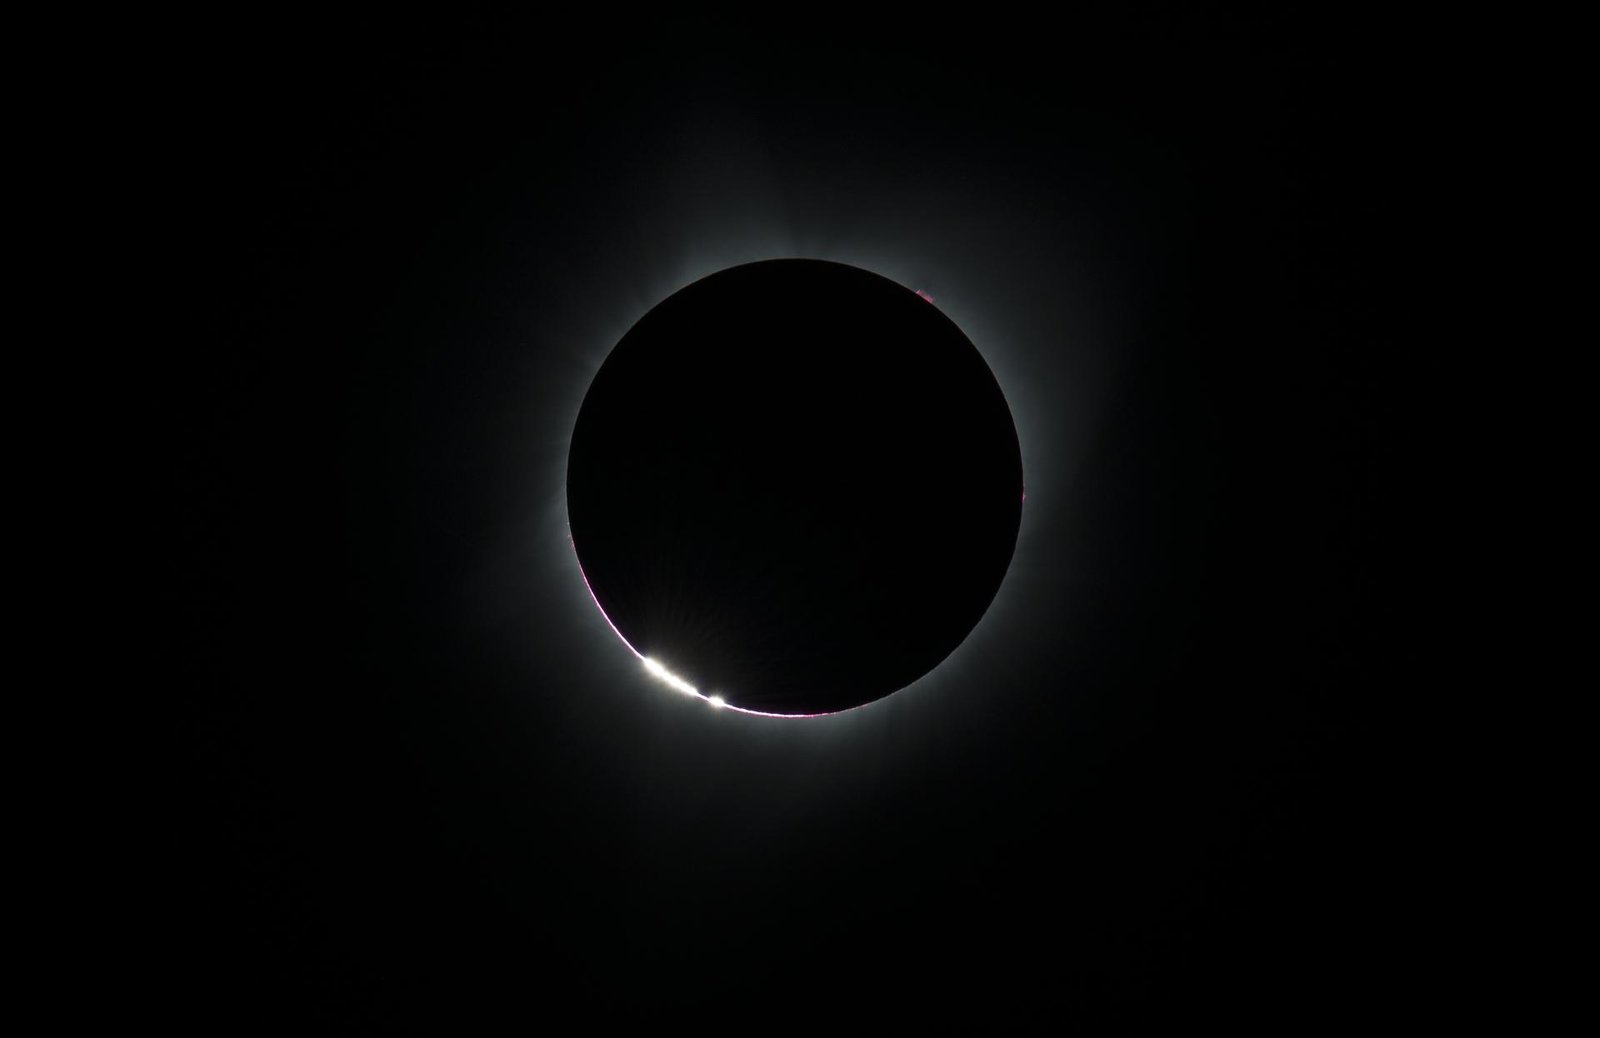
For the corona you need an exposure series, because no single image can capture its brightness range. Fix the aperture and let the camera run through times from about 1/1000 s to 1 s – that’s also what NASA advises. Later you stack the series with HDR software.
Automate whatever you can and watch the rest with your own eyes. One observer from the forum had control software trigger the exposure series in Spain by clock time and got 84 shots in 101 seconds of totality. Anyone fiddling with dials, on the other hand, misses the spectacle.
Even a phone captures the corona surprisingly well. According to the AAS, exposures of 1/15 s are already enough. During totality, take the filter off, lock the exposure and pull it down a little so that the inner streamers don’t blow out.
Series, time-lapse, landscape: photo ideas for the whole eclipse
An interval series tells the whole eclipse in a single image. Set the camera’s interval timer to every 3 to 5 minutes; with a duration of around two hours, that gives you 25 to 40 crescents. With a tracking mount they line up exactly; without one, you have to readjust and align the images later.

For a time-lapse, the camera stays fixed and the Sun moves through the frame. Lock aperture, shutter speed, ISO and white balance, otherwise the film will flicker. A manual lens helps, because then the aperture doesn’t close slightly differently with every shot.
For a time-lapse with landscape, a wide angle of around 24 to 35 mm is enough. In two hours the Sun covers about 30 degrees of sky, which just fits into the frame at this focal length. The filter stays on here too – in the forum, the advice ranged from “wide angle without a filter is fine” to “never without”; only the second option is safe.
Landscape with eclipse
In 2027 the Sun stands high across Europe – a crescent just above the horizon won’t happen this time. Seen from Germany, it stands 44 to 53 degrees high at maximum depending on location (in southern England it is only around 40 degrees – the values for your area are on our page about the solar eclipse 2027); with landscape in the frame, that only works with a strong wide angle or in portrait format. On 12 August 2026 it was the other way round: the Sun stood low, and haze dimmed its light.
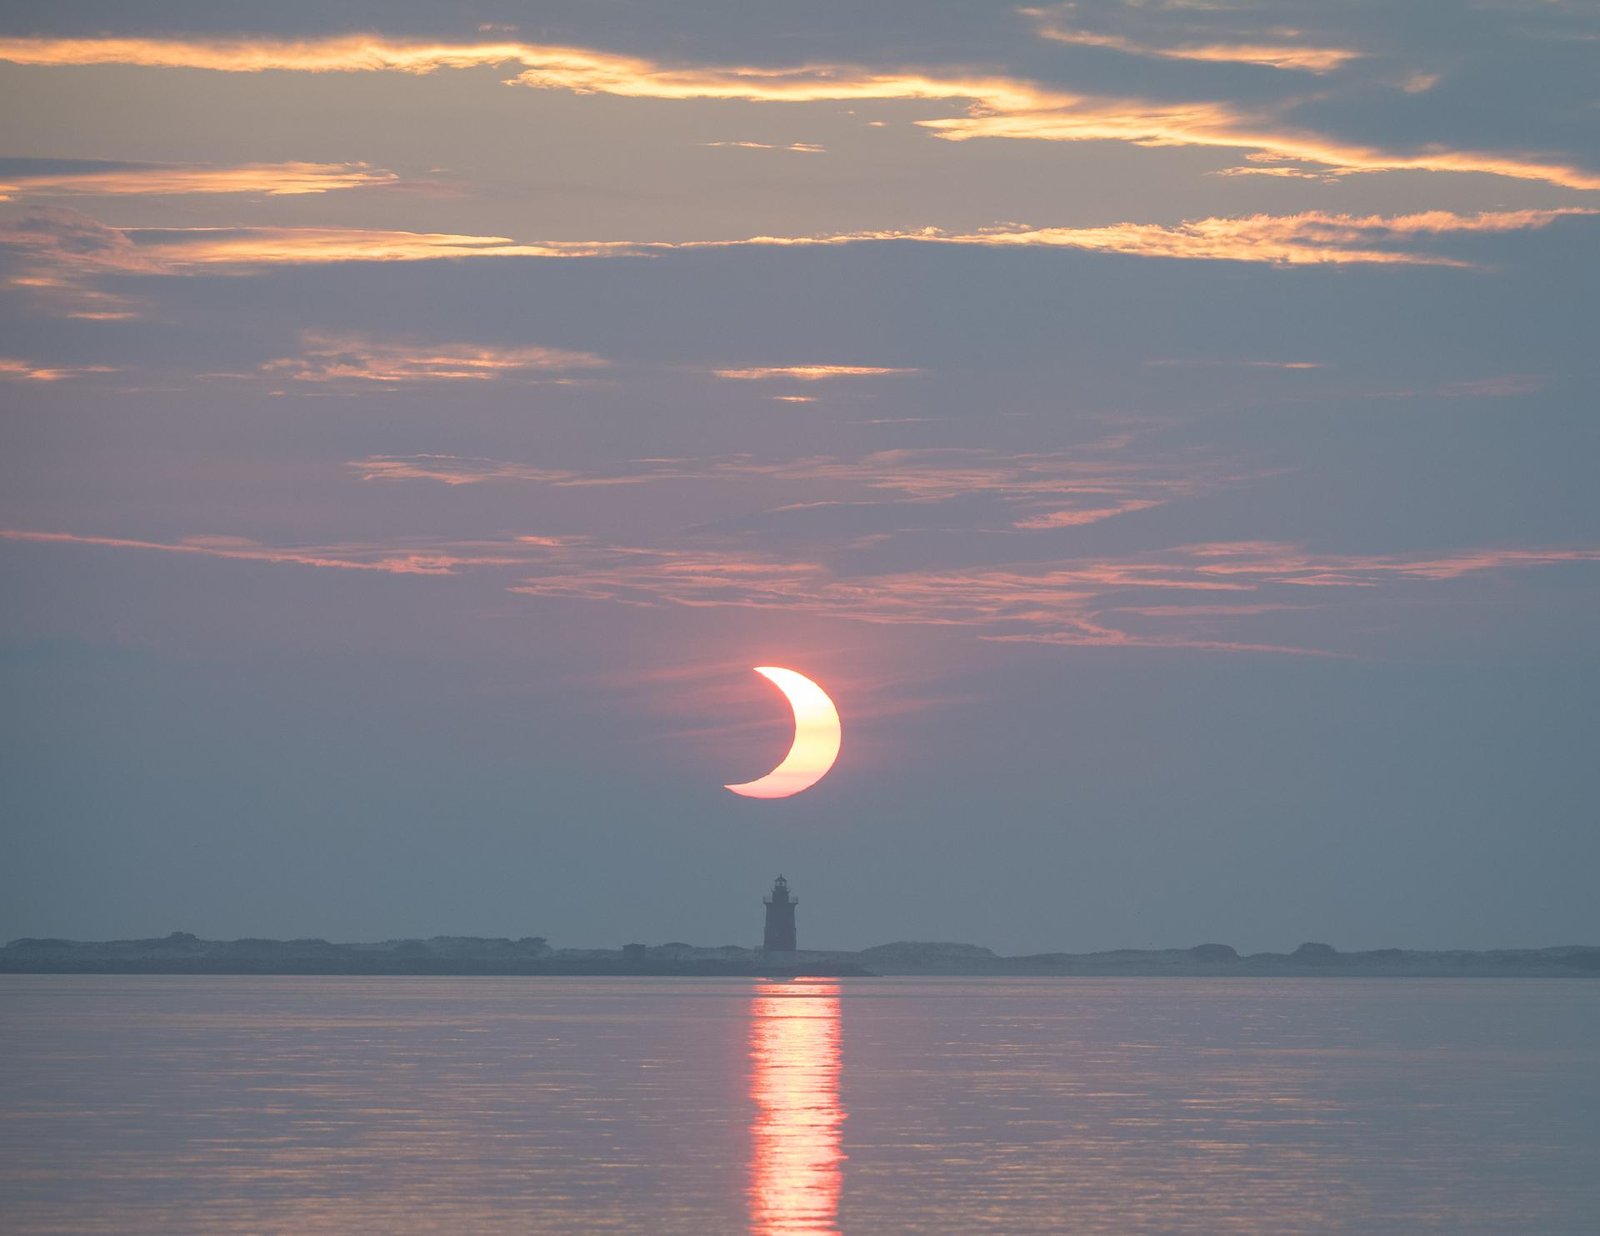
The tried-and-tested trick is a composite of two shots from the same tripod position. One shot with a filter shows the crescent, one without a filter the landscape; later you layer the two. No single image can handle this difference in brightness – forum users agreed on that after 12 August.
The most beautiful safe subjects are on the ground: under trees, the gaps in the foliage cast hundreds of small crescents. You don’t need a filter for that, just a look downwards. With a pinhole projector for the solar eclipse you project the crescent onto paper on purpose – a great subject when children are around.
Mistakes from the forum: what went wrong in 2026
For many, the eclipse of 12 August 2026 was the dress rehearsal, and the reports on forum.astronomie.de show where things go wrong. Most mishaps had nothing to do with expensive technology and everything to do with a lack of practice.
| Mistake | What happens | Better like this |
|---|---|---|
| Several ND filters stacked | reflections and rainbow flares | a single solar filter with OD 5.0 |
| No test run | live view too dark, Sun not in the frame | practise beforehand; aim until the lens’s shadow is at its smallest |
| Autofocus on the Sun | blurry series | focus manually, tape the ring |
| Camera in the sun for hours | body and lens heat up | cover it between shots |
| Sun and foreground in one image | Sun white or landscape black | composite of two shots |
| Phone handheld, wind | shaky, focus jumps | tripod, self-timer, wind shield |
| Only one location planned | veil clouds, smoke from wildfires | backup location and weather map at hand |
| Too much tech during totality | seconds slip away, nothing seen | one device, automation, the rest with your eyes |
The most important mistake isn’t in any table: doing it for the first time on eclipse day. If you’ve practised filter, focus and interval twice on the ordinary Sun beforehand, you’ll be relaxed when it counts.
Checklist for 2 August 2027: how to be ready
The times for your location are on our page about the solar eclipse 2027 – this is only about preparation. In Germany, for example, the eclipse runs through the late morning, with the Sun in the southeast; how the timing and the Sun’s position look where you are is also on that page.
✅ Eclipse glasses for everyone, a solar filter for every optic – check them against a lamp for holes beforehand.
✅ The filter sits firmly but comes off with a single movement (important in the path of totality).
✅ On the phone, the film covers all lenses, even in the holder.
✅ Test run a week before at the same time of day: is the Sun clear of roofs and trees?
✅ Focus set with the filter on, ring taped.
✅ Interval timer and exposure series programmed and tested.
✅ Batteries charged, memory cards empty, power bank for the phone.
✅ Clock set – contact times are accurate to the minute.
✅ Shade for you and the camera: hat, water, light-coloured cloth.
✅ Plan B for clouds: a backup location within reach.
And plan time for simply watching. The automation takes the photo – only you experience the moment.
Frequently asked questions about photographing a solar eclipse
Can you photograph a solar eclipse?
Yes, with any phone and any camera, as long as a solar filter with OD 5.0 sits in front of the optics. Without a filter only totality is possible, and in 2027 it can’t be seen in the UK, Germany, France or Italy. For a large crescent you need 300 to 600 mm of focal length or a smart telescope.
Which solar eclipse filter fits in front of a camera?
A solar filter film with OD 5.0 or a ready-made glass solar filter with ND 100000, in each case in front of the lens. The film is cheaper and optically very good; glass filters are more robust. Ordinary ND filters from a camera shop and anything placed behind the optics are off-limits.
Are eclipse glasses enough as a filter for a phone?
As an emergency solution, yes: hold one lens of the glasses in front of the phone’s camera or tape it on so that it covers all the lenses. In front of a telephoto lens, the small, often slightly creased film of the glasses is optically of little use. That’s where a properly mounted film filter belongs.
Is an ND1000 filter safe for a solar eclipse?
No. It lets through about a hundred times more light than a solar filter, and its infrared transmission has not been tested. Looking at the Sun through the viewfinder with it is dangerous.
Do I ever take the filter off in 2027 outside the path of totality?
No. In the UK, Germany, France, Italy and anywhere else outside the narrow path, the eclipse is only partial, and part of the Sun always stays uncovered. Filter and glasses stay on from start to finish. Only in the path of totality in southern Spain and North Africa may the filter come off for the minutes of totality.
Can I look through the camera viewfinder with a filter?
With a certified OD 5.0 solar filter in front of the lens, yes. Live view is still more comfortable and safer: if the filter slips, you notice it on the screen and not with your eye. Without a filter the optical viewfinder is off-limits, except during totality itself.
Links marked with an asterisk (*) are affiliate links. If you buy through them, we receive a small commission – the price stays the same for you.